Chapter 8. Who is Ma'at?
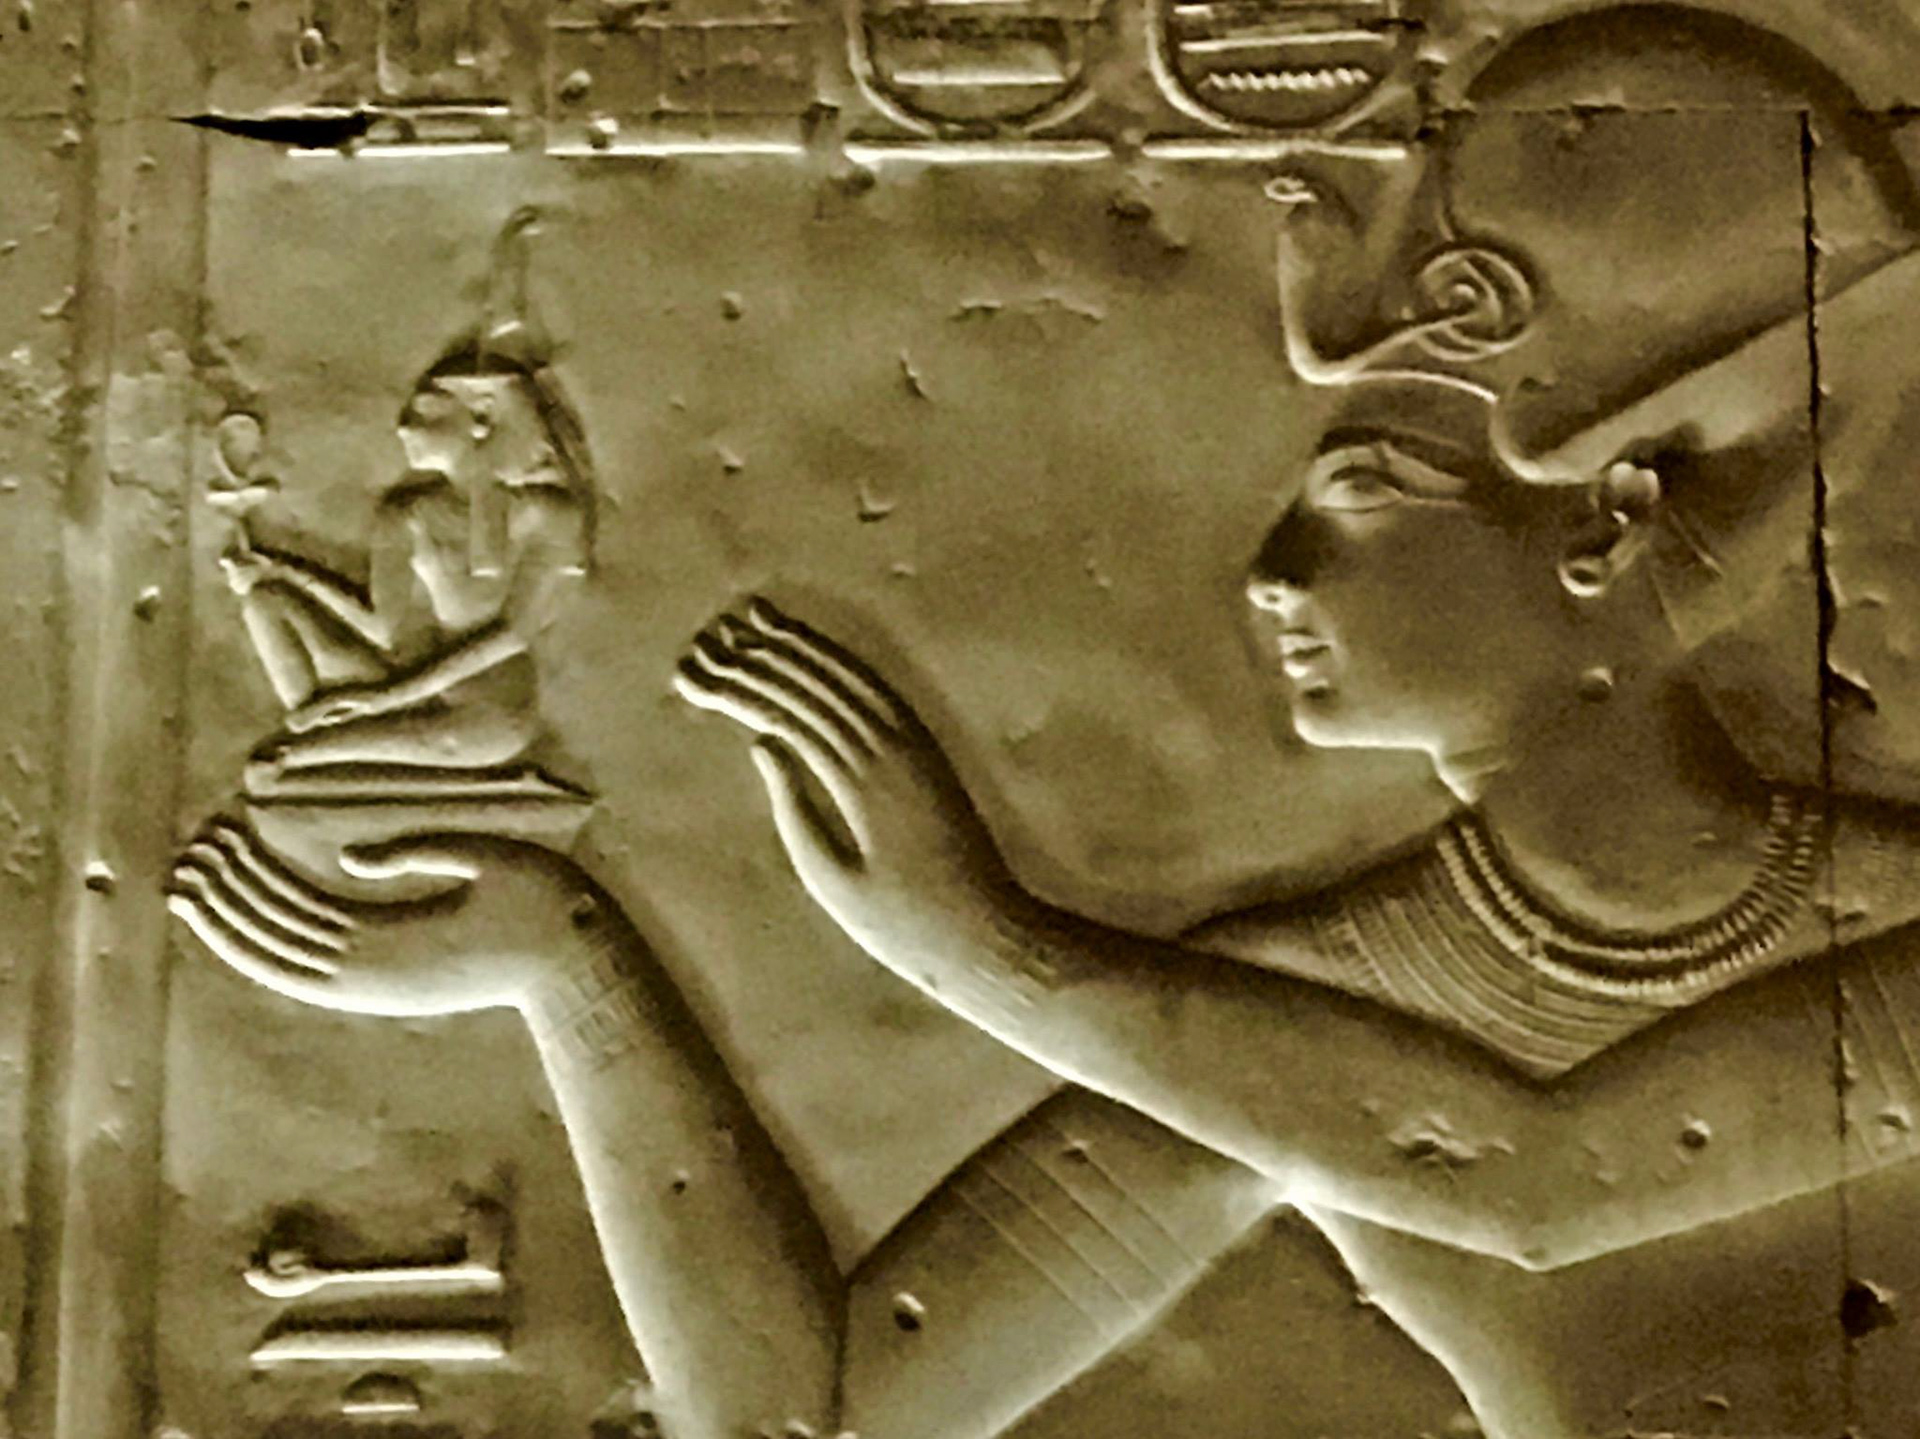
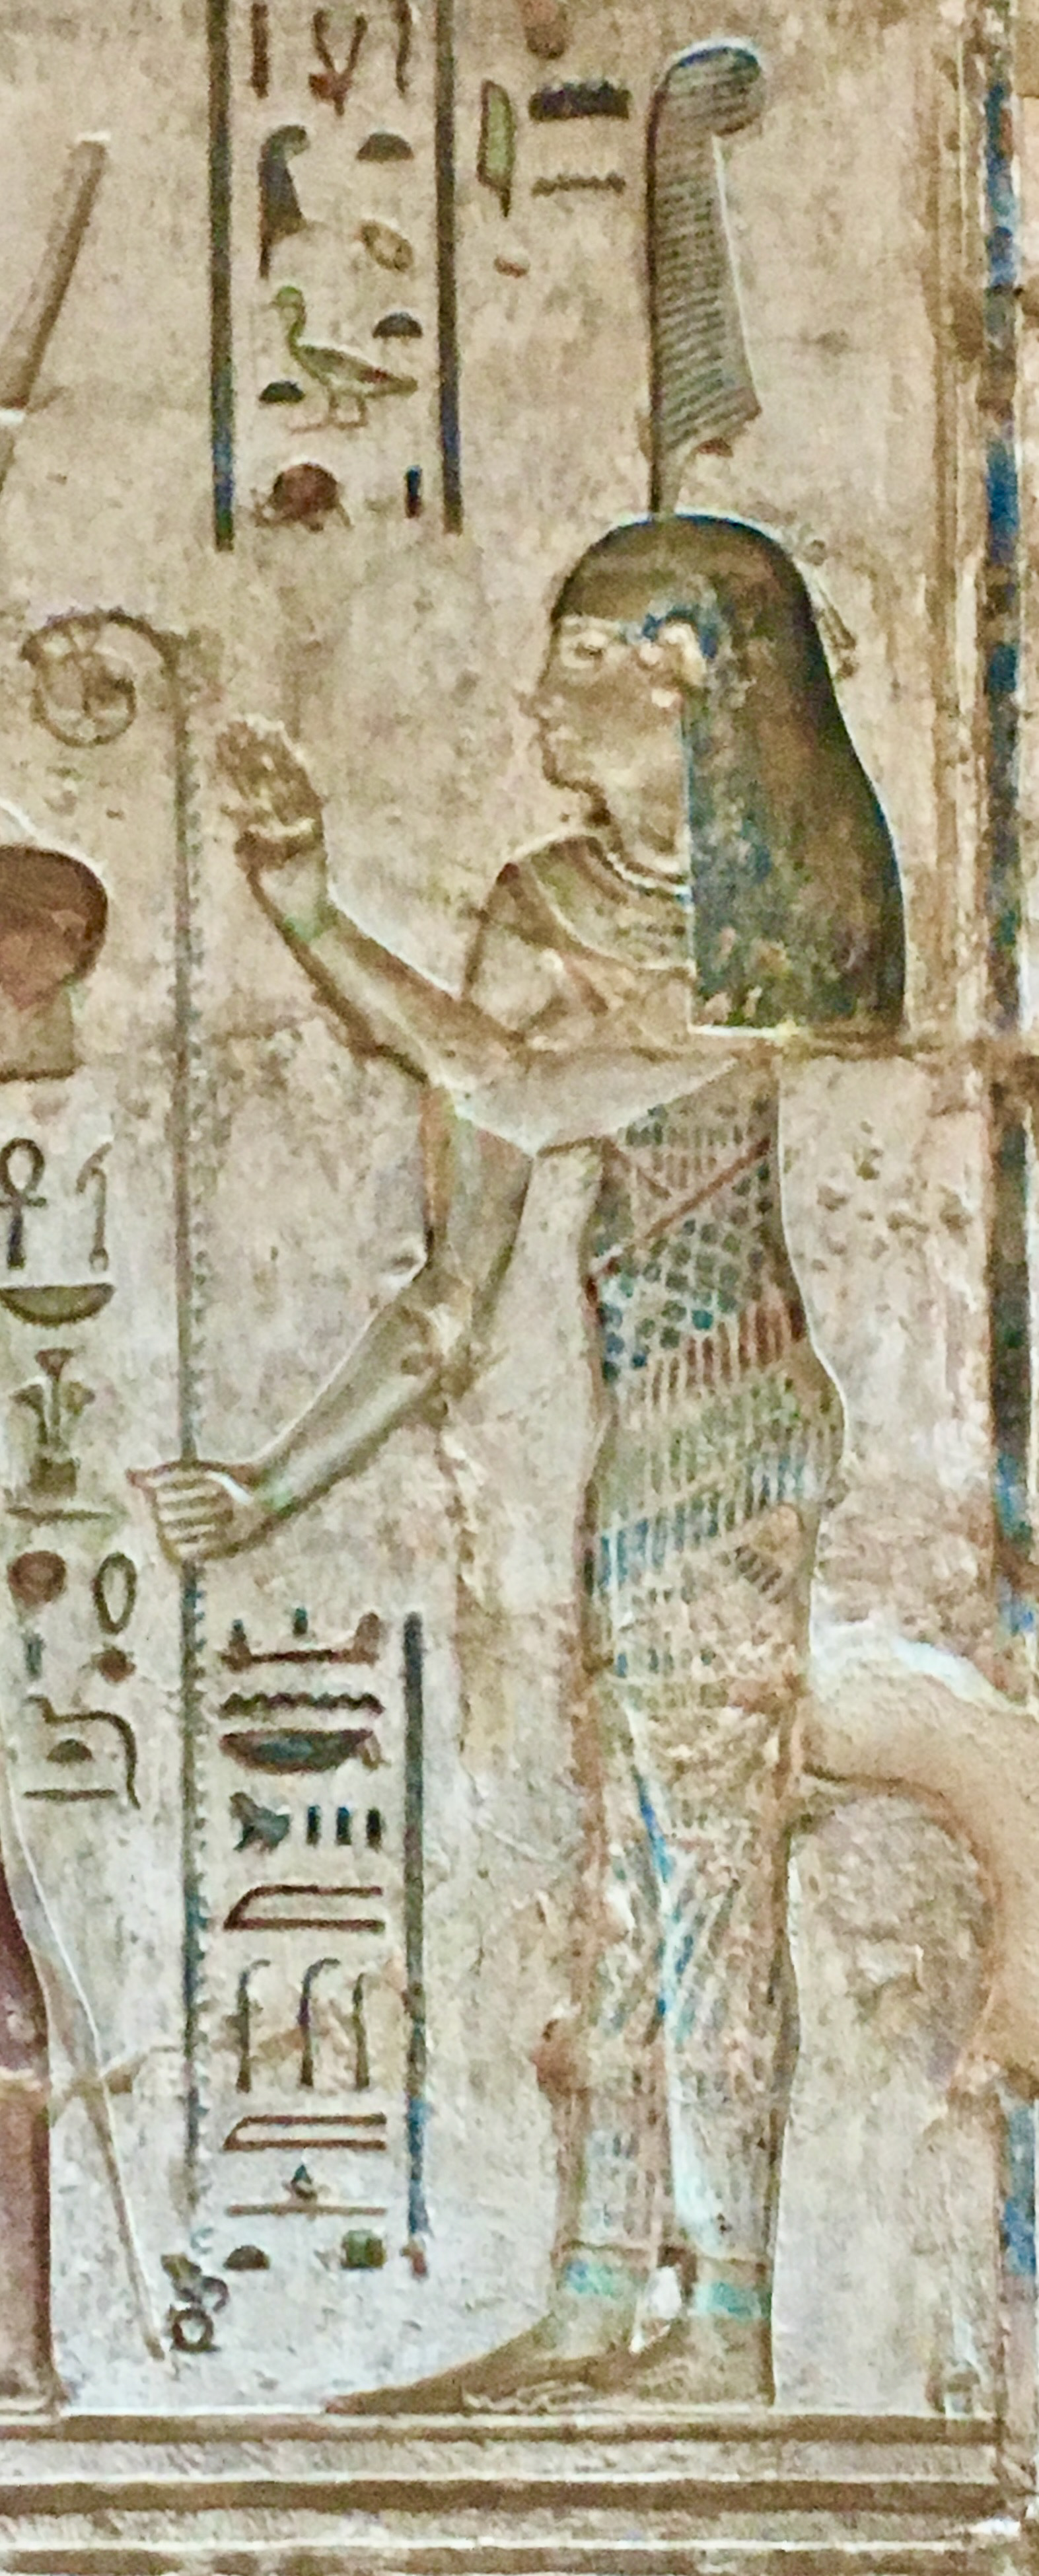
Seti I offering Ma’at, Abydos, Egypt
A recent Ma’at in Luxor, Egypt with her name in hieroglyphs on the upper right.

Ma'at's name
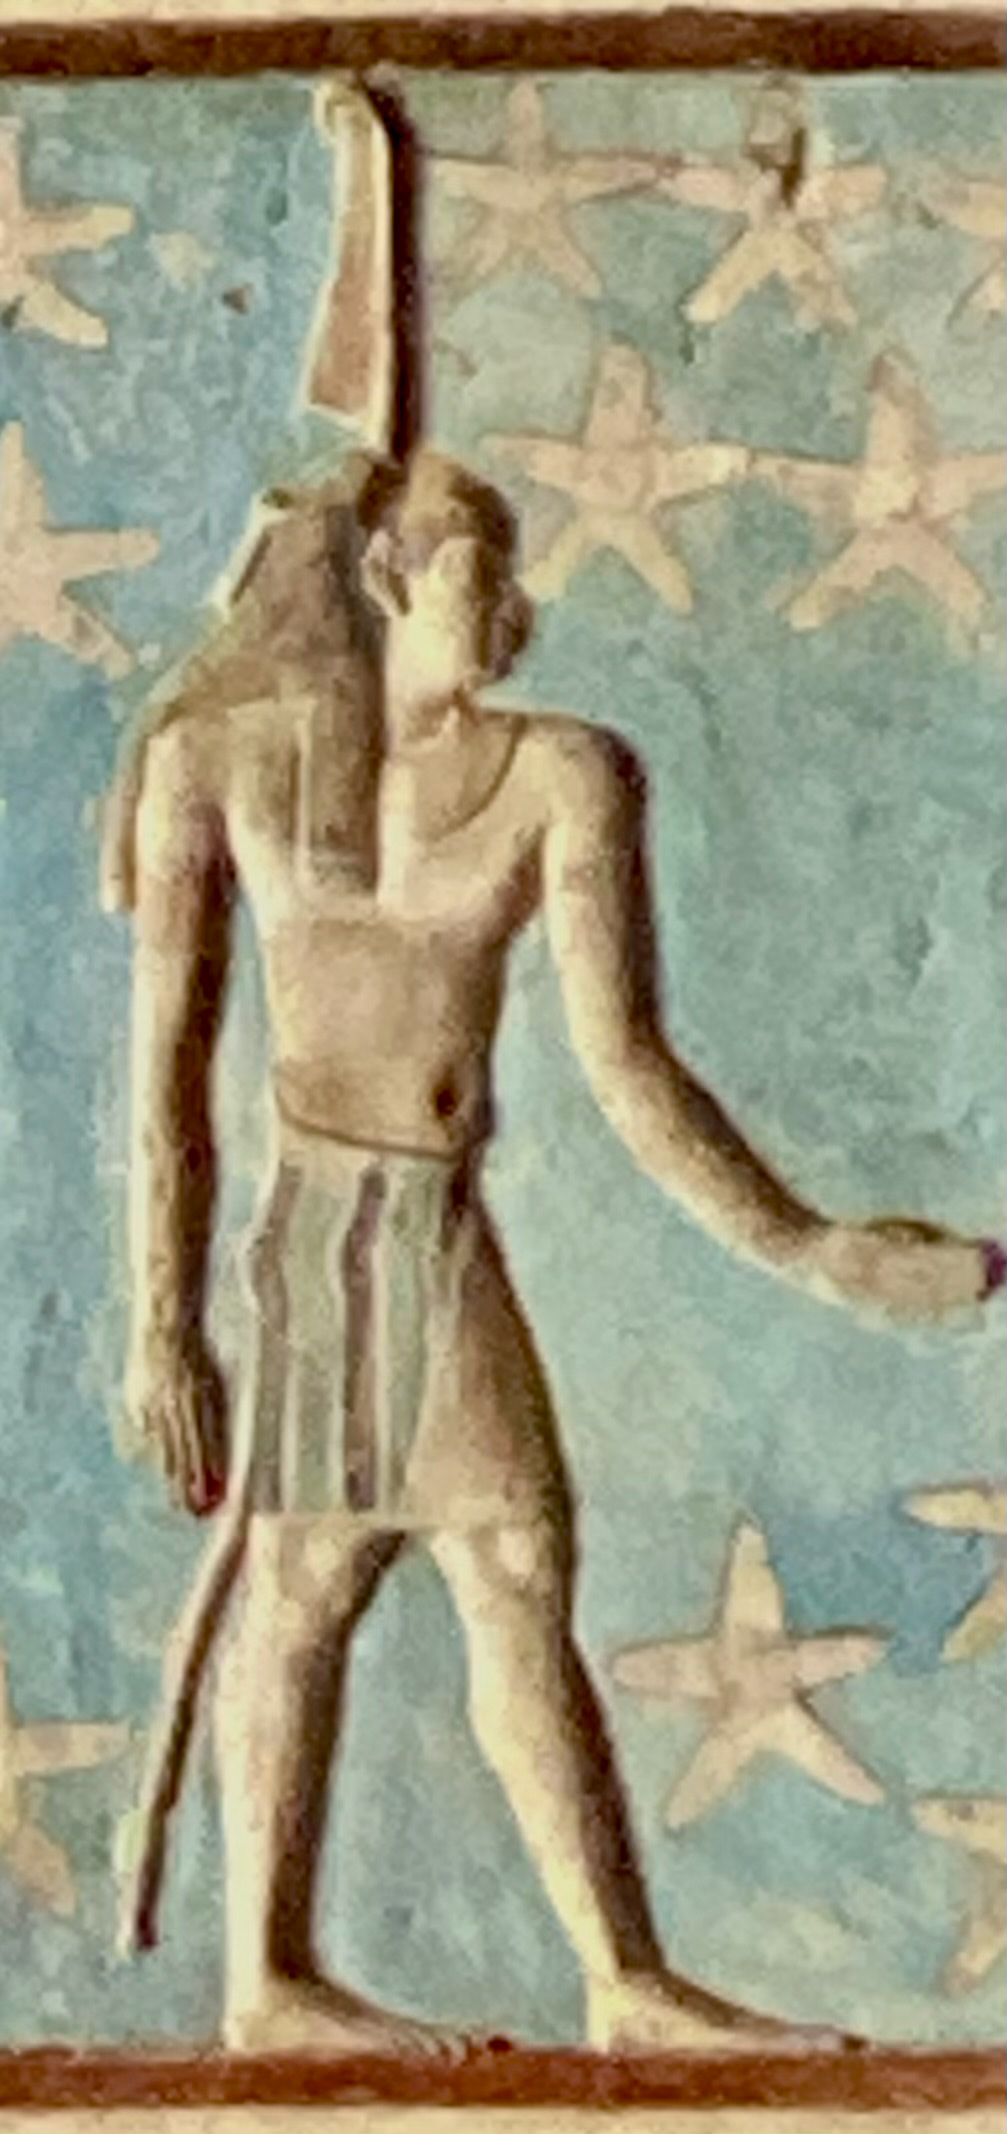
Shu on the ceiling of Dendera Temple
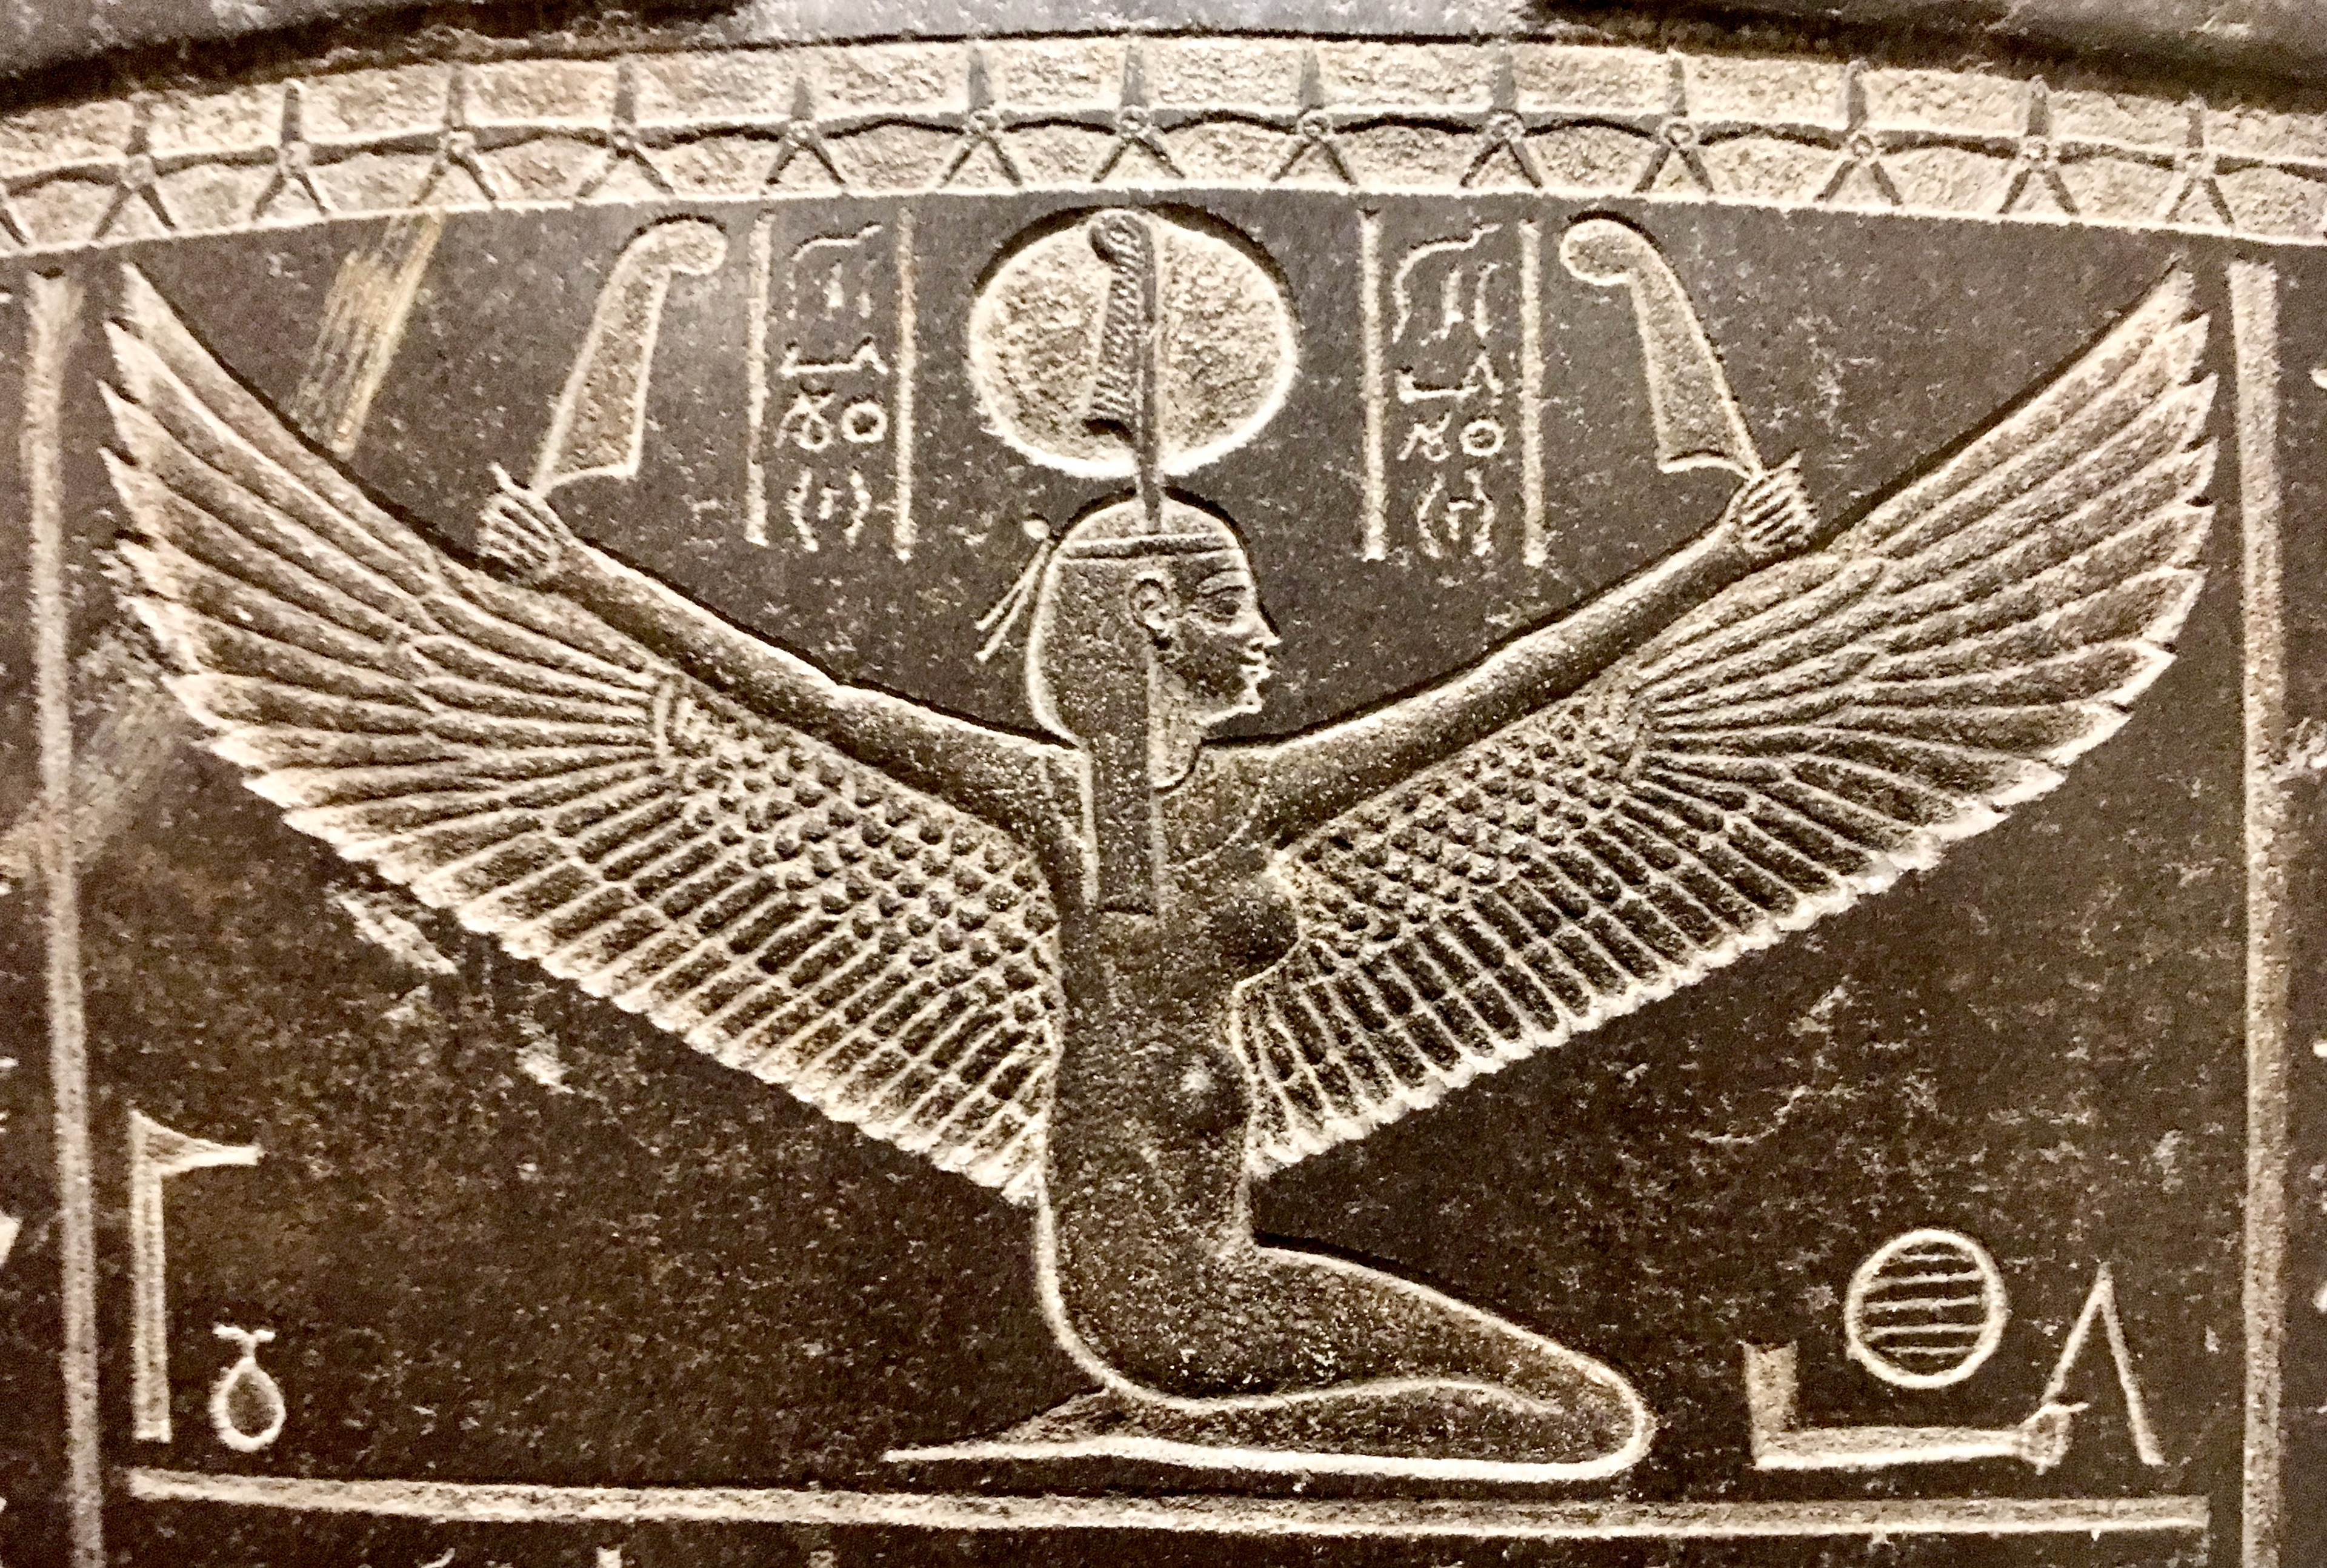
Ma’at on a cover of a Sarcophagus. Old Egyptian Museum, Cairo, Egypt.
Ma’at on a small plaque in the Nubia Museum, Aswan.
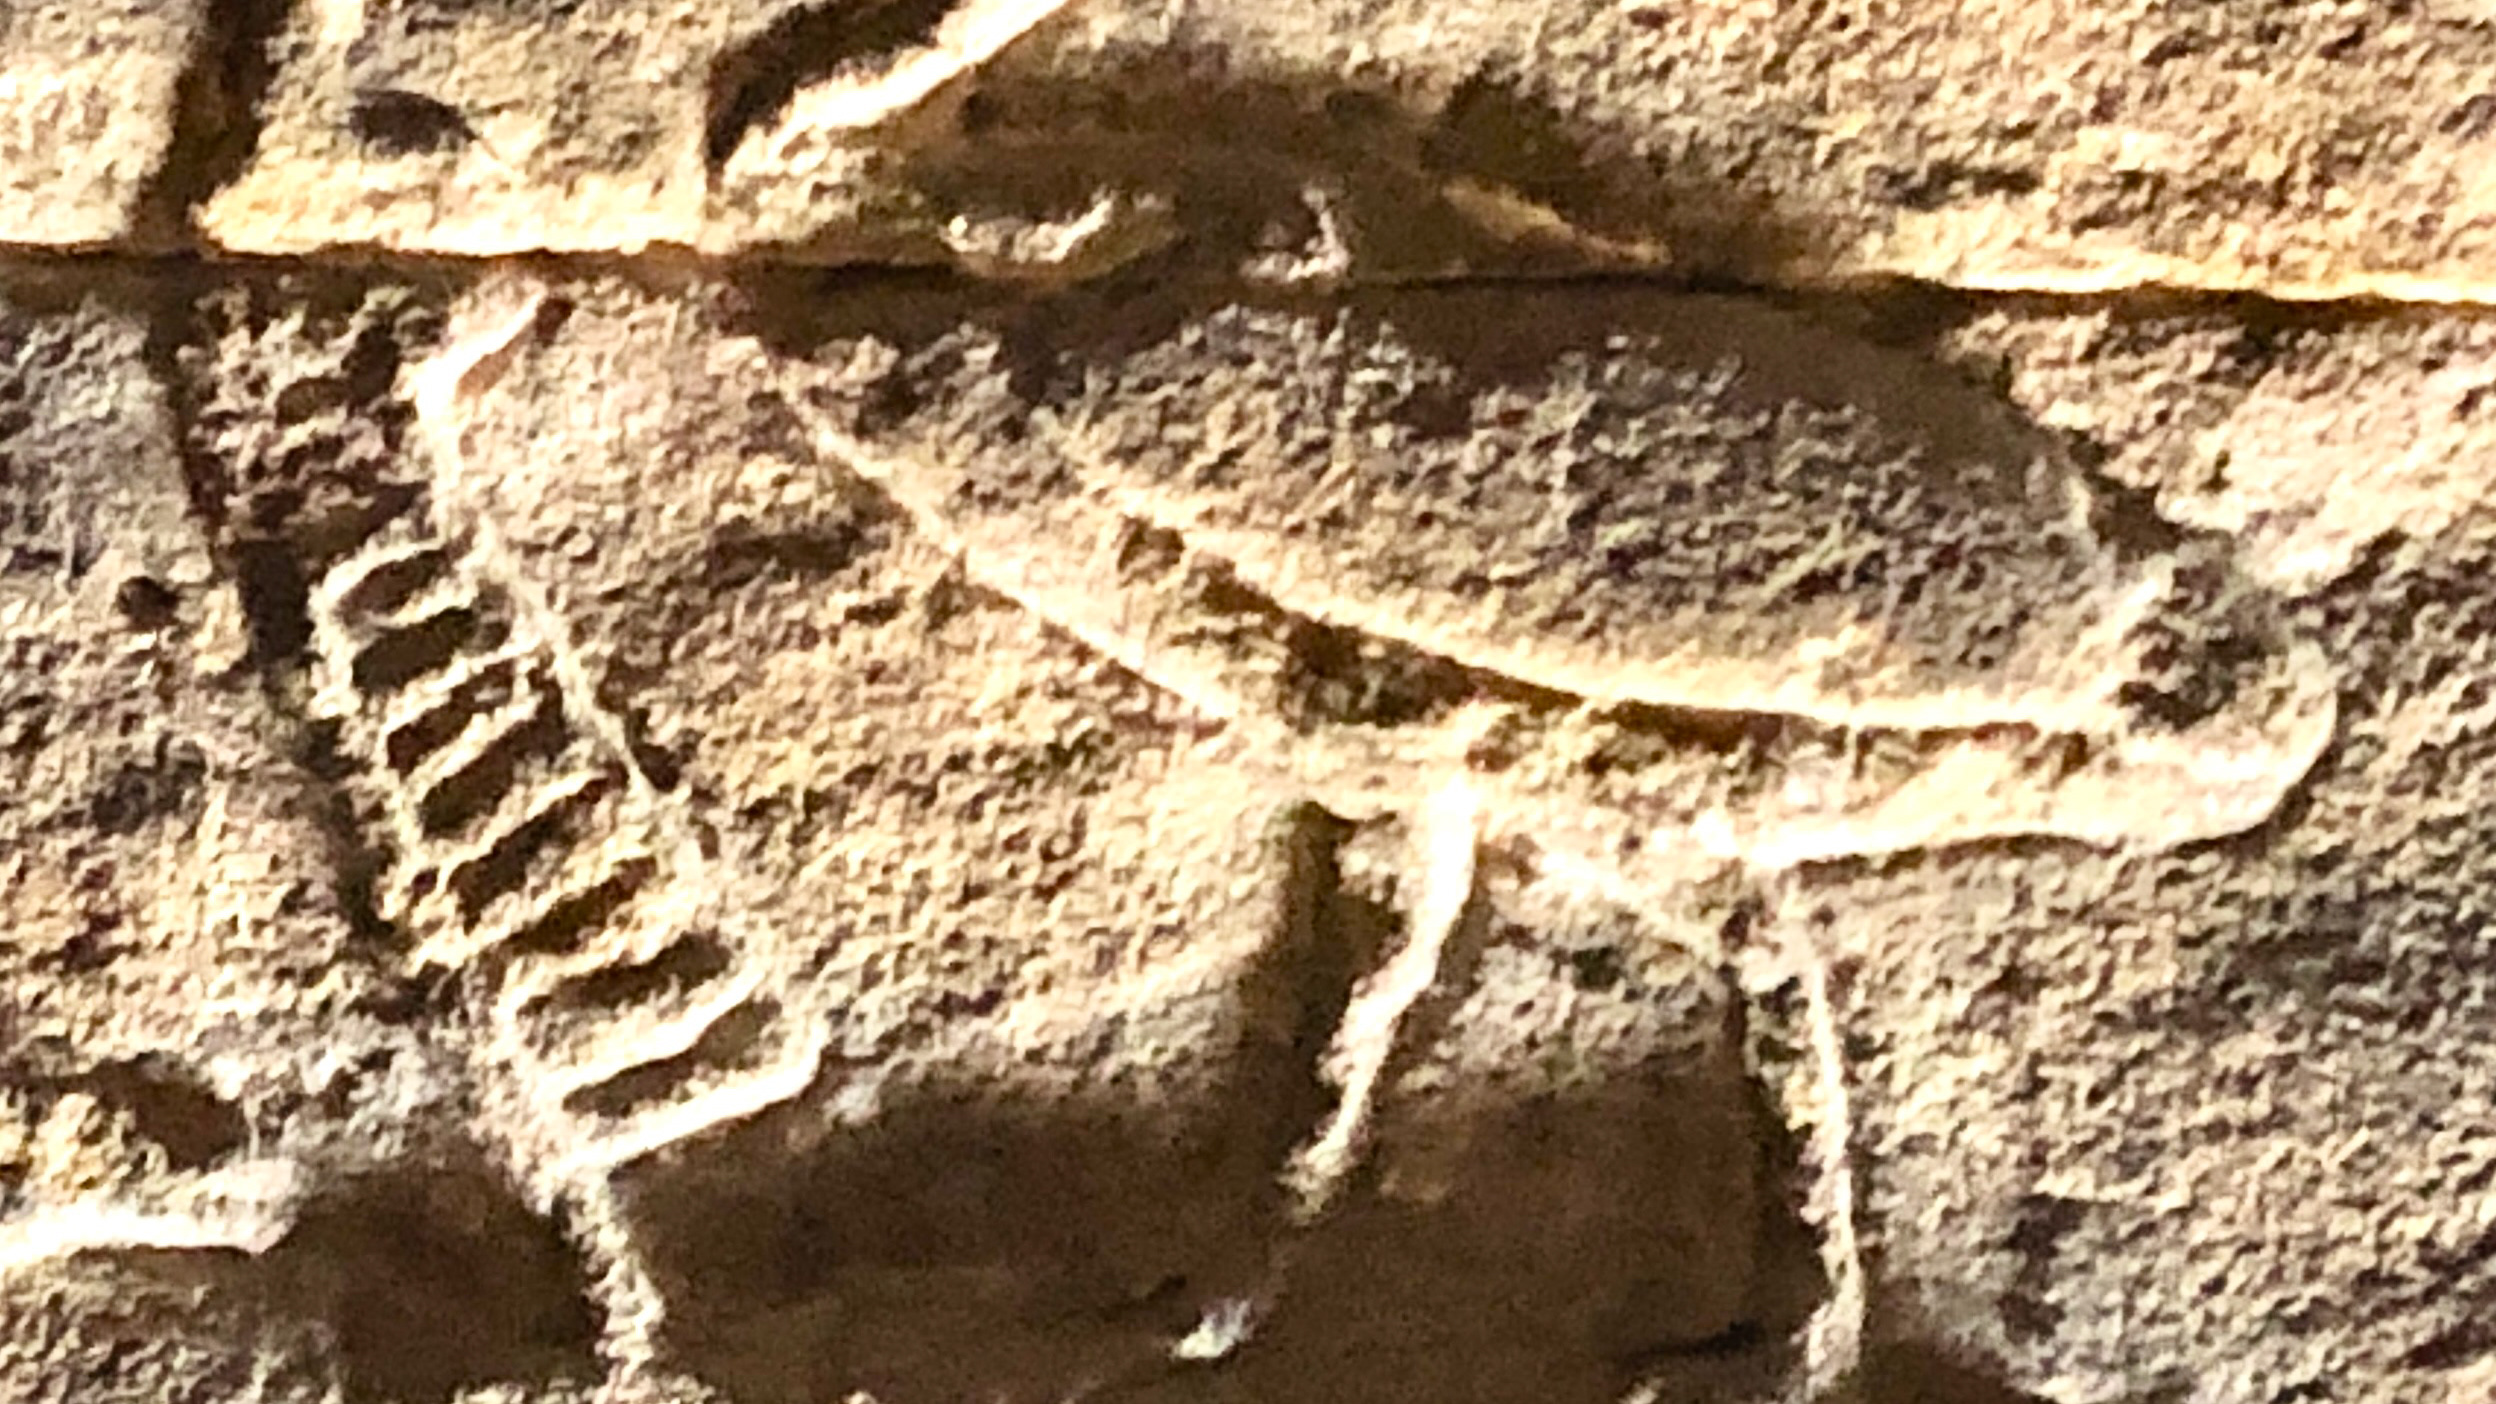
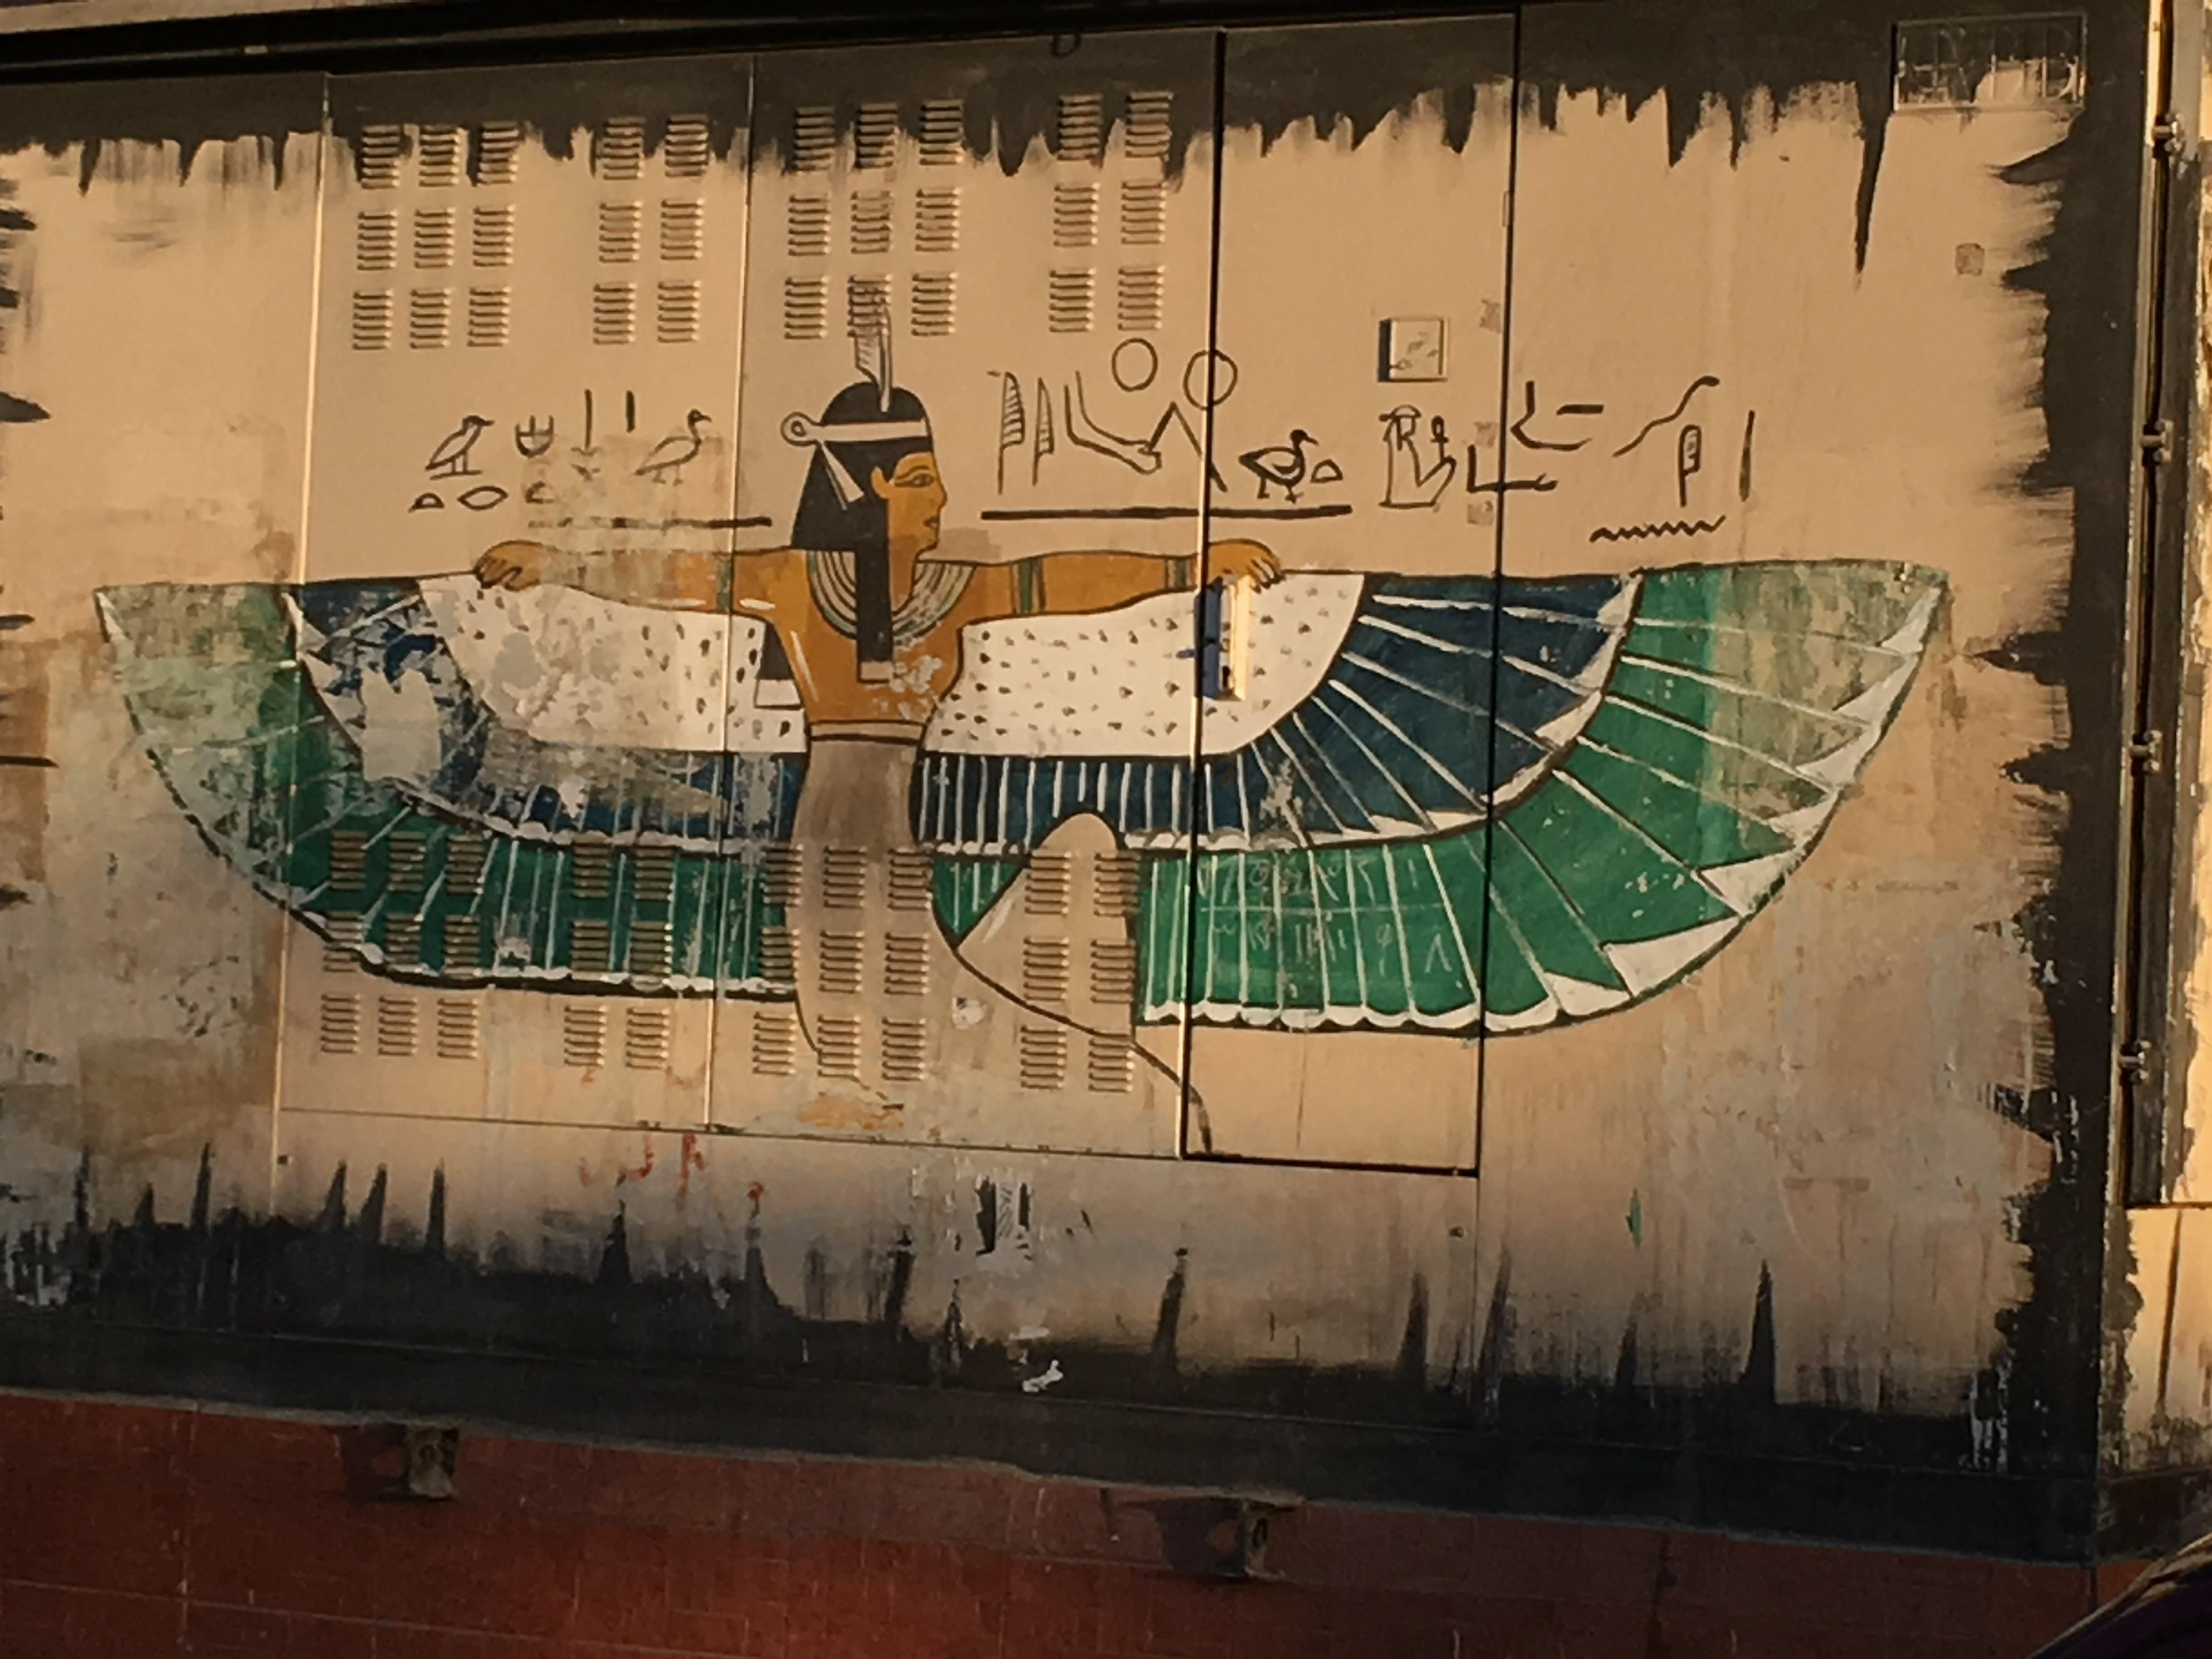
Ma’at on wall at Deir el Medina, Luxor, Egypt.
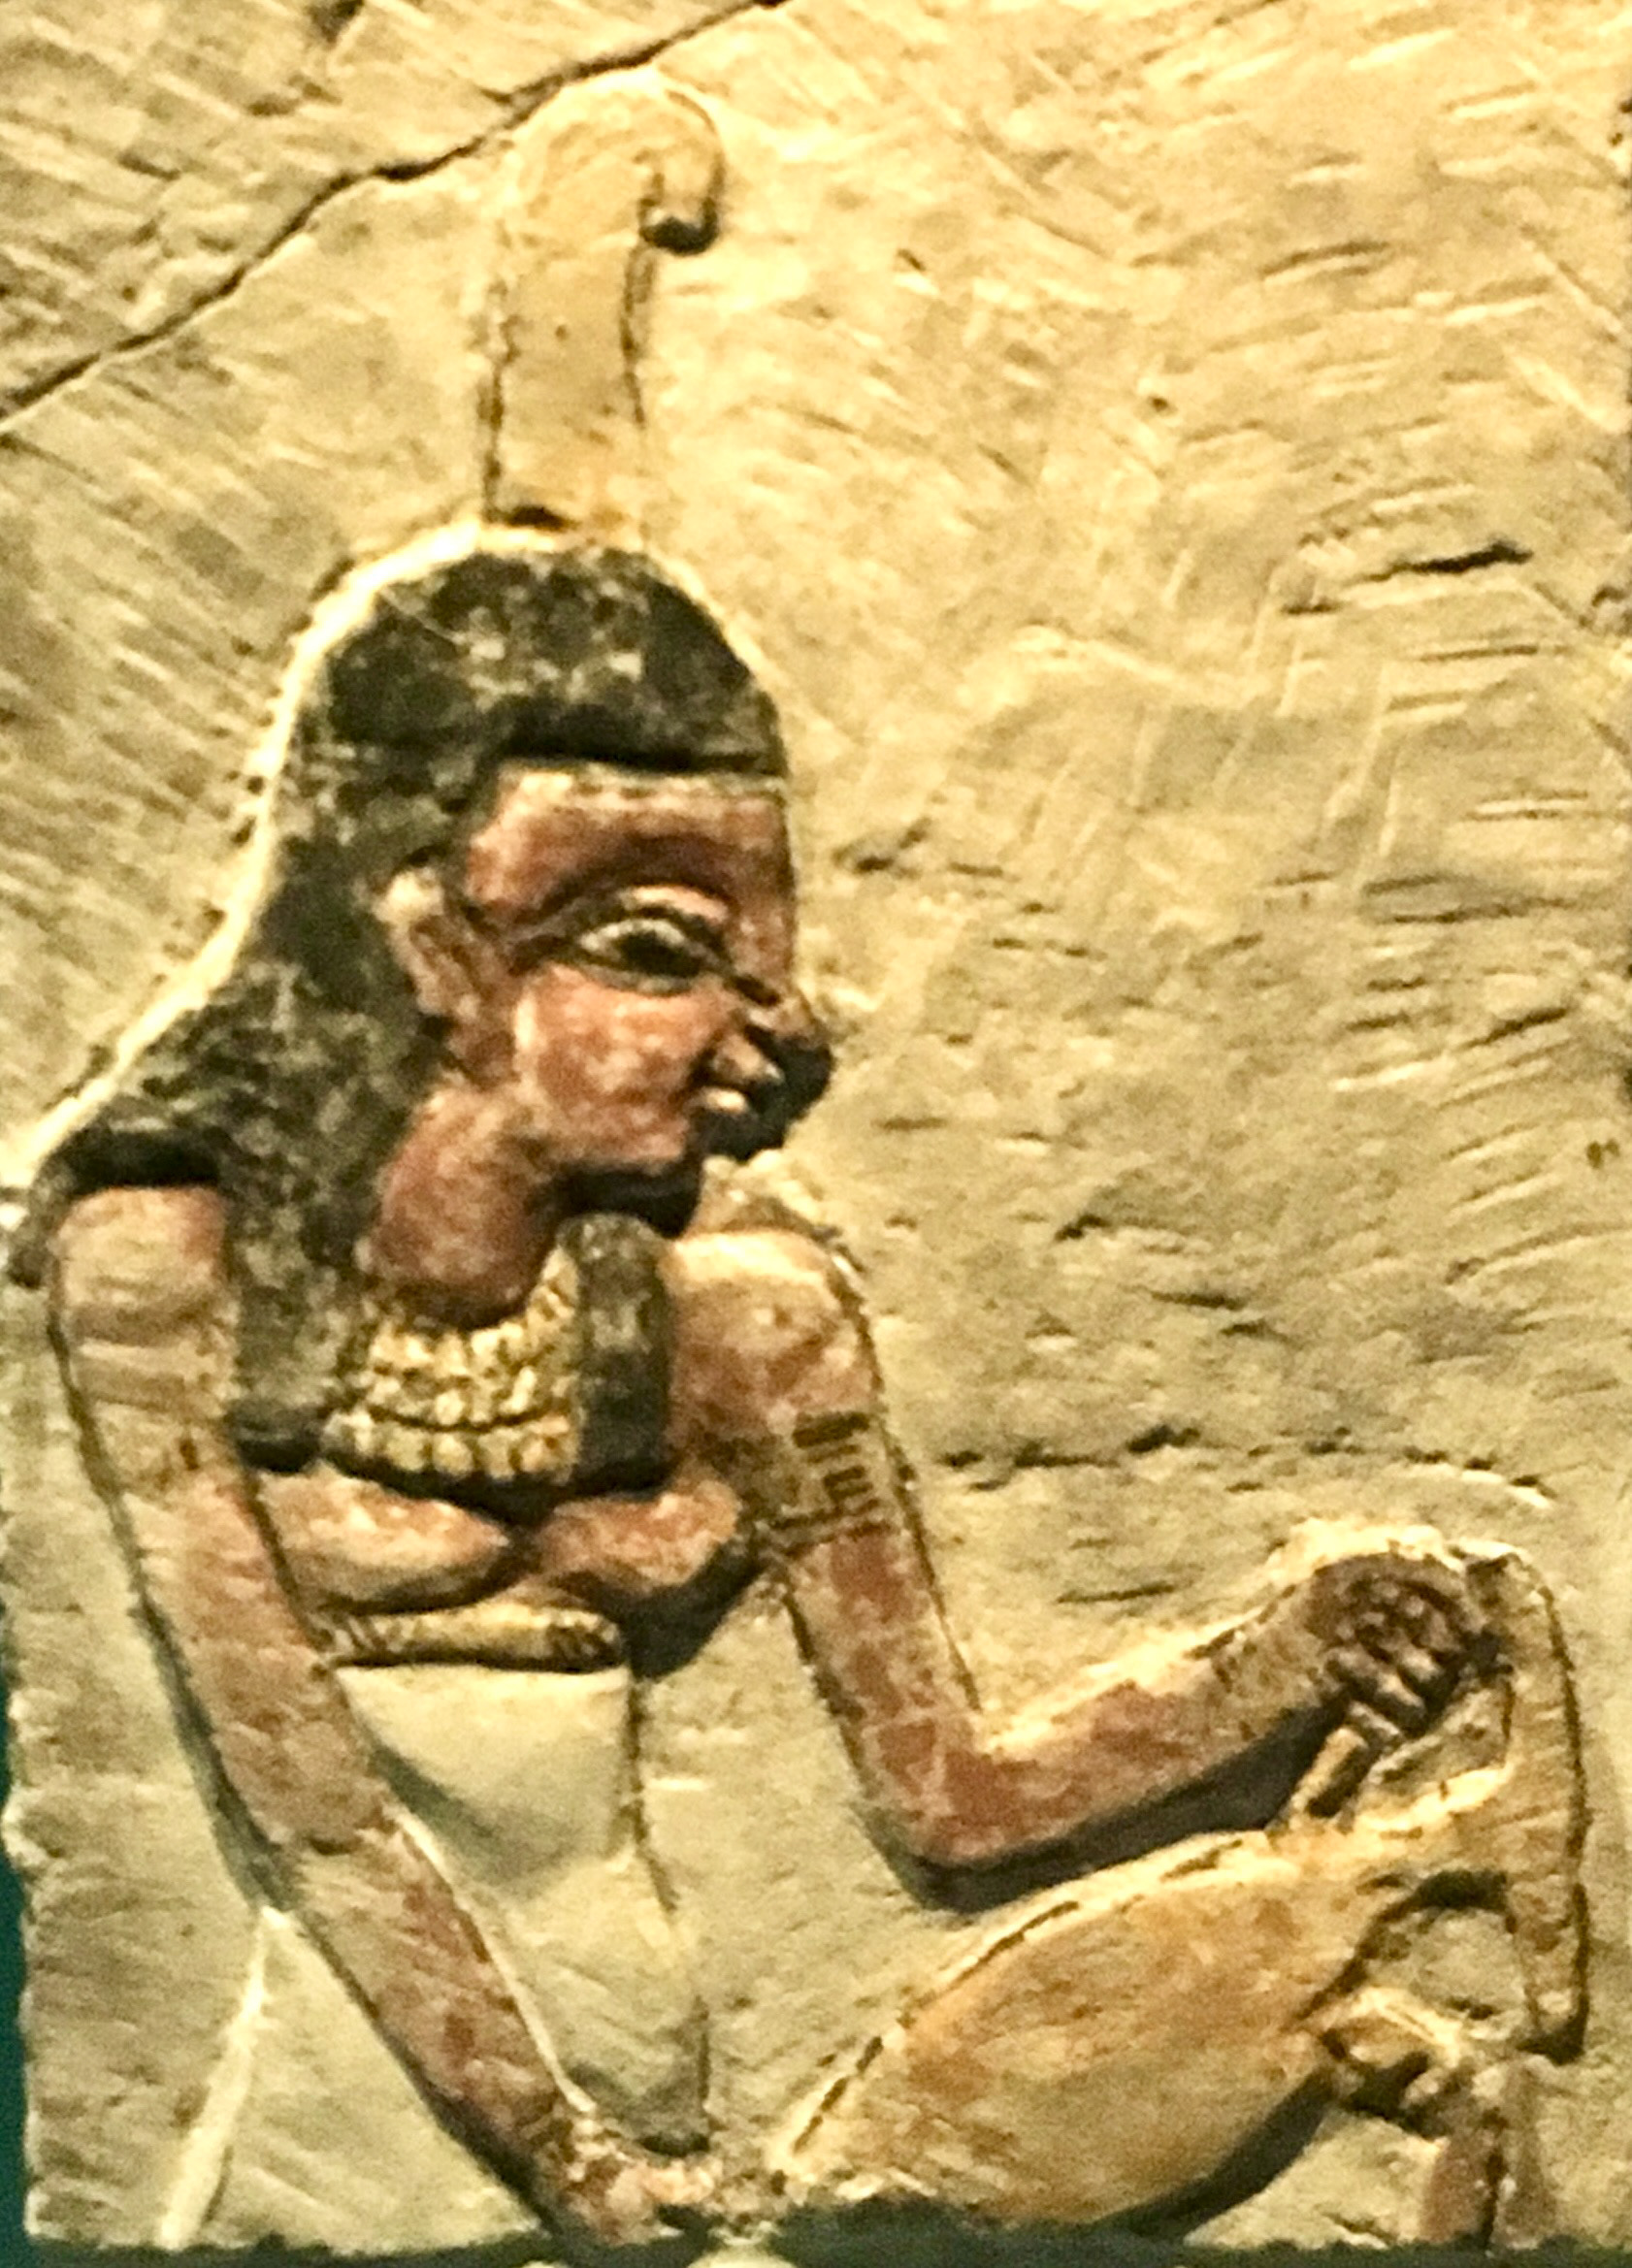
Offering Ma’at on temple wall at Karnak Luxor, Egypt
Chapter 9. Ma'at Mythos

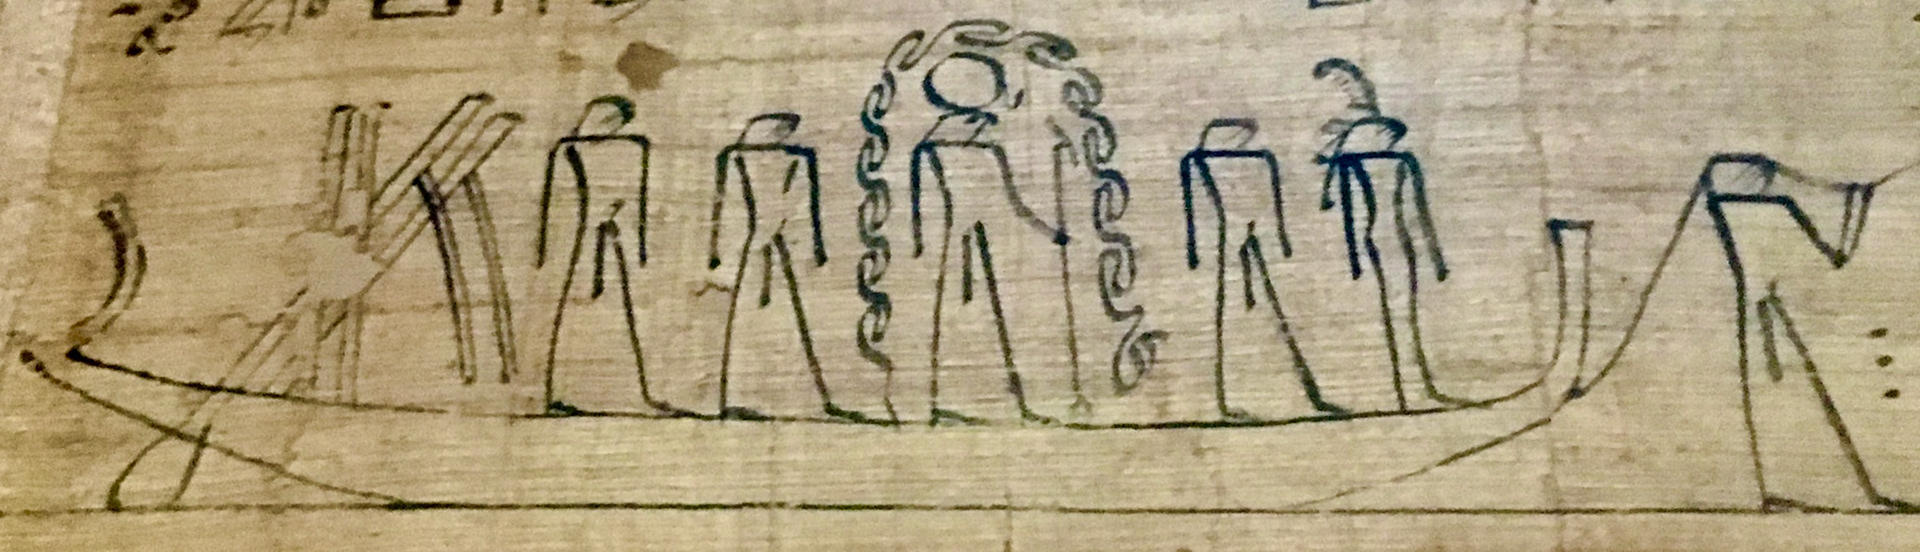
The Ogdoad from the temple of Dendera.
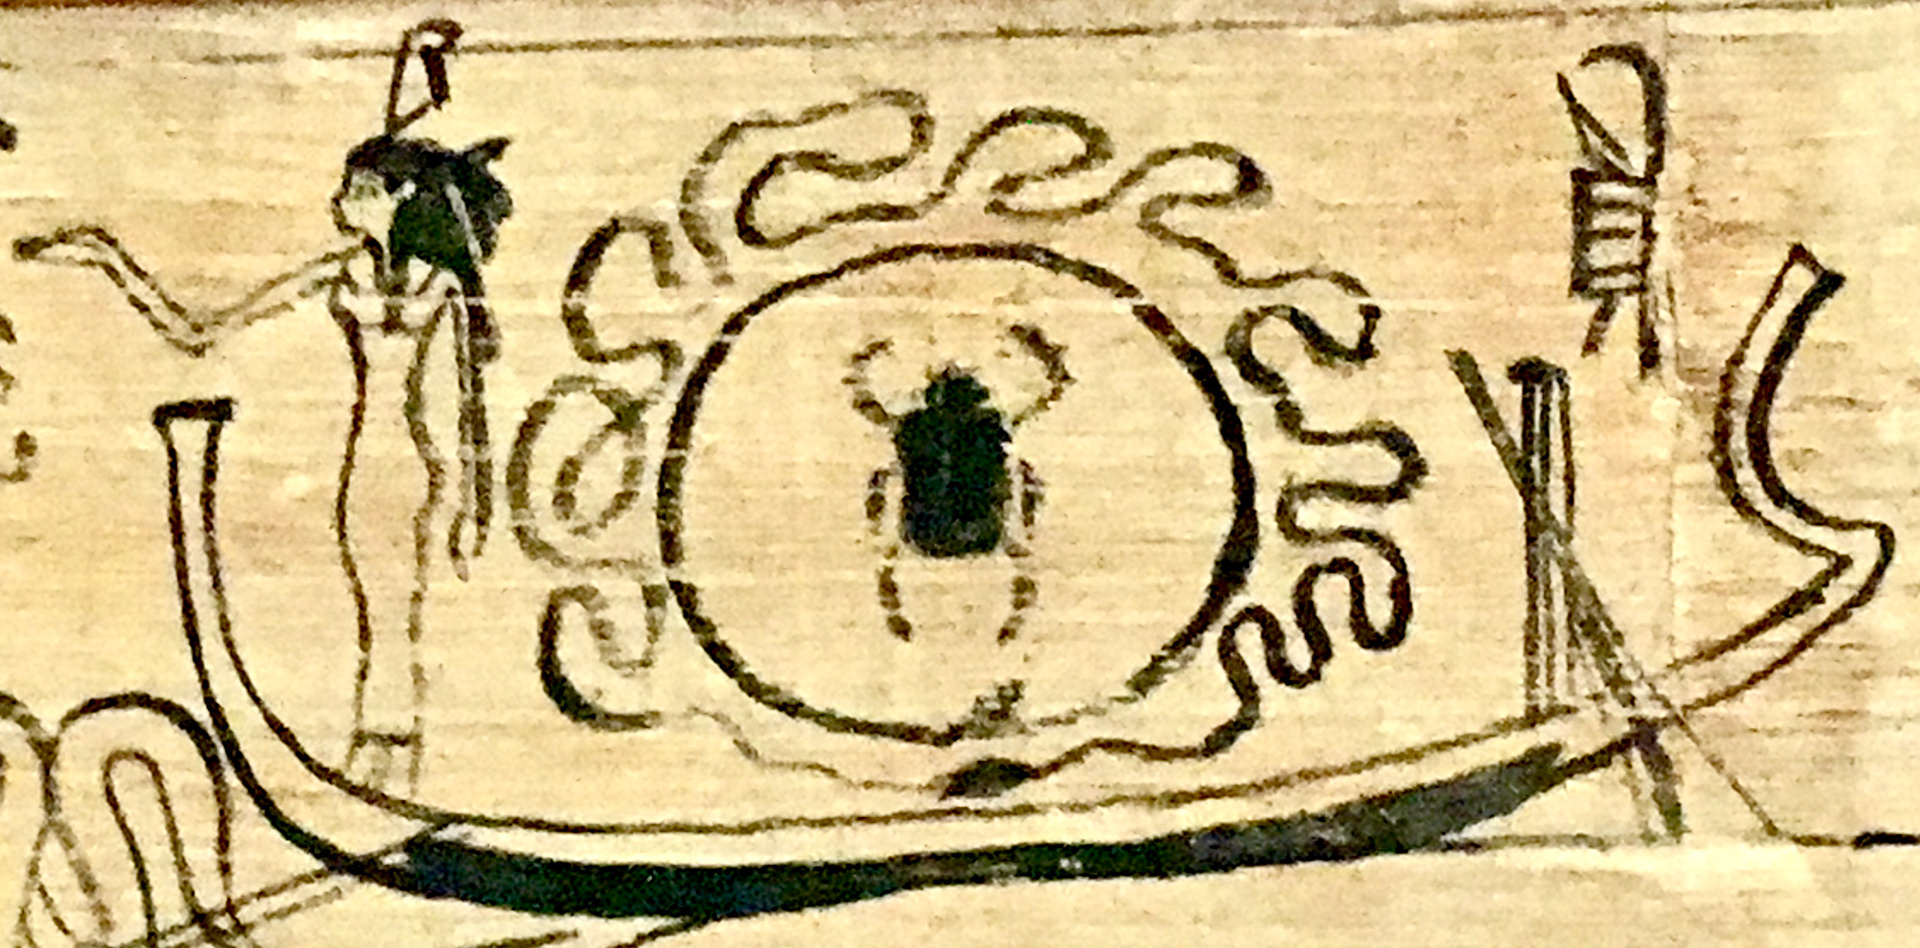
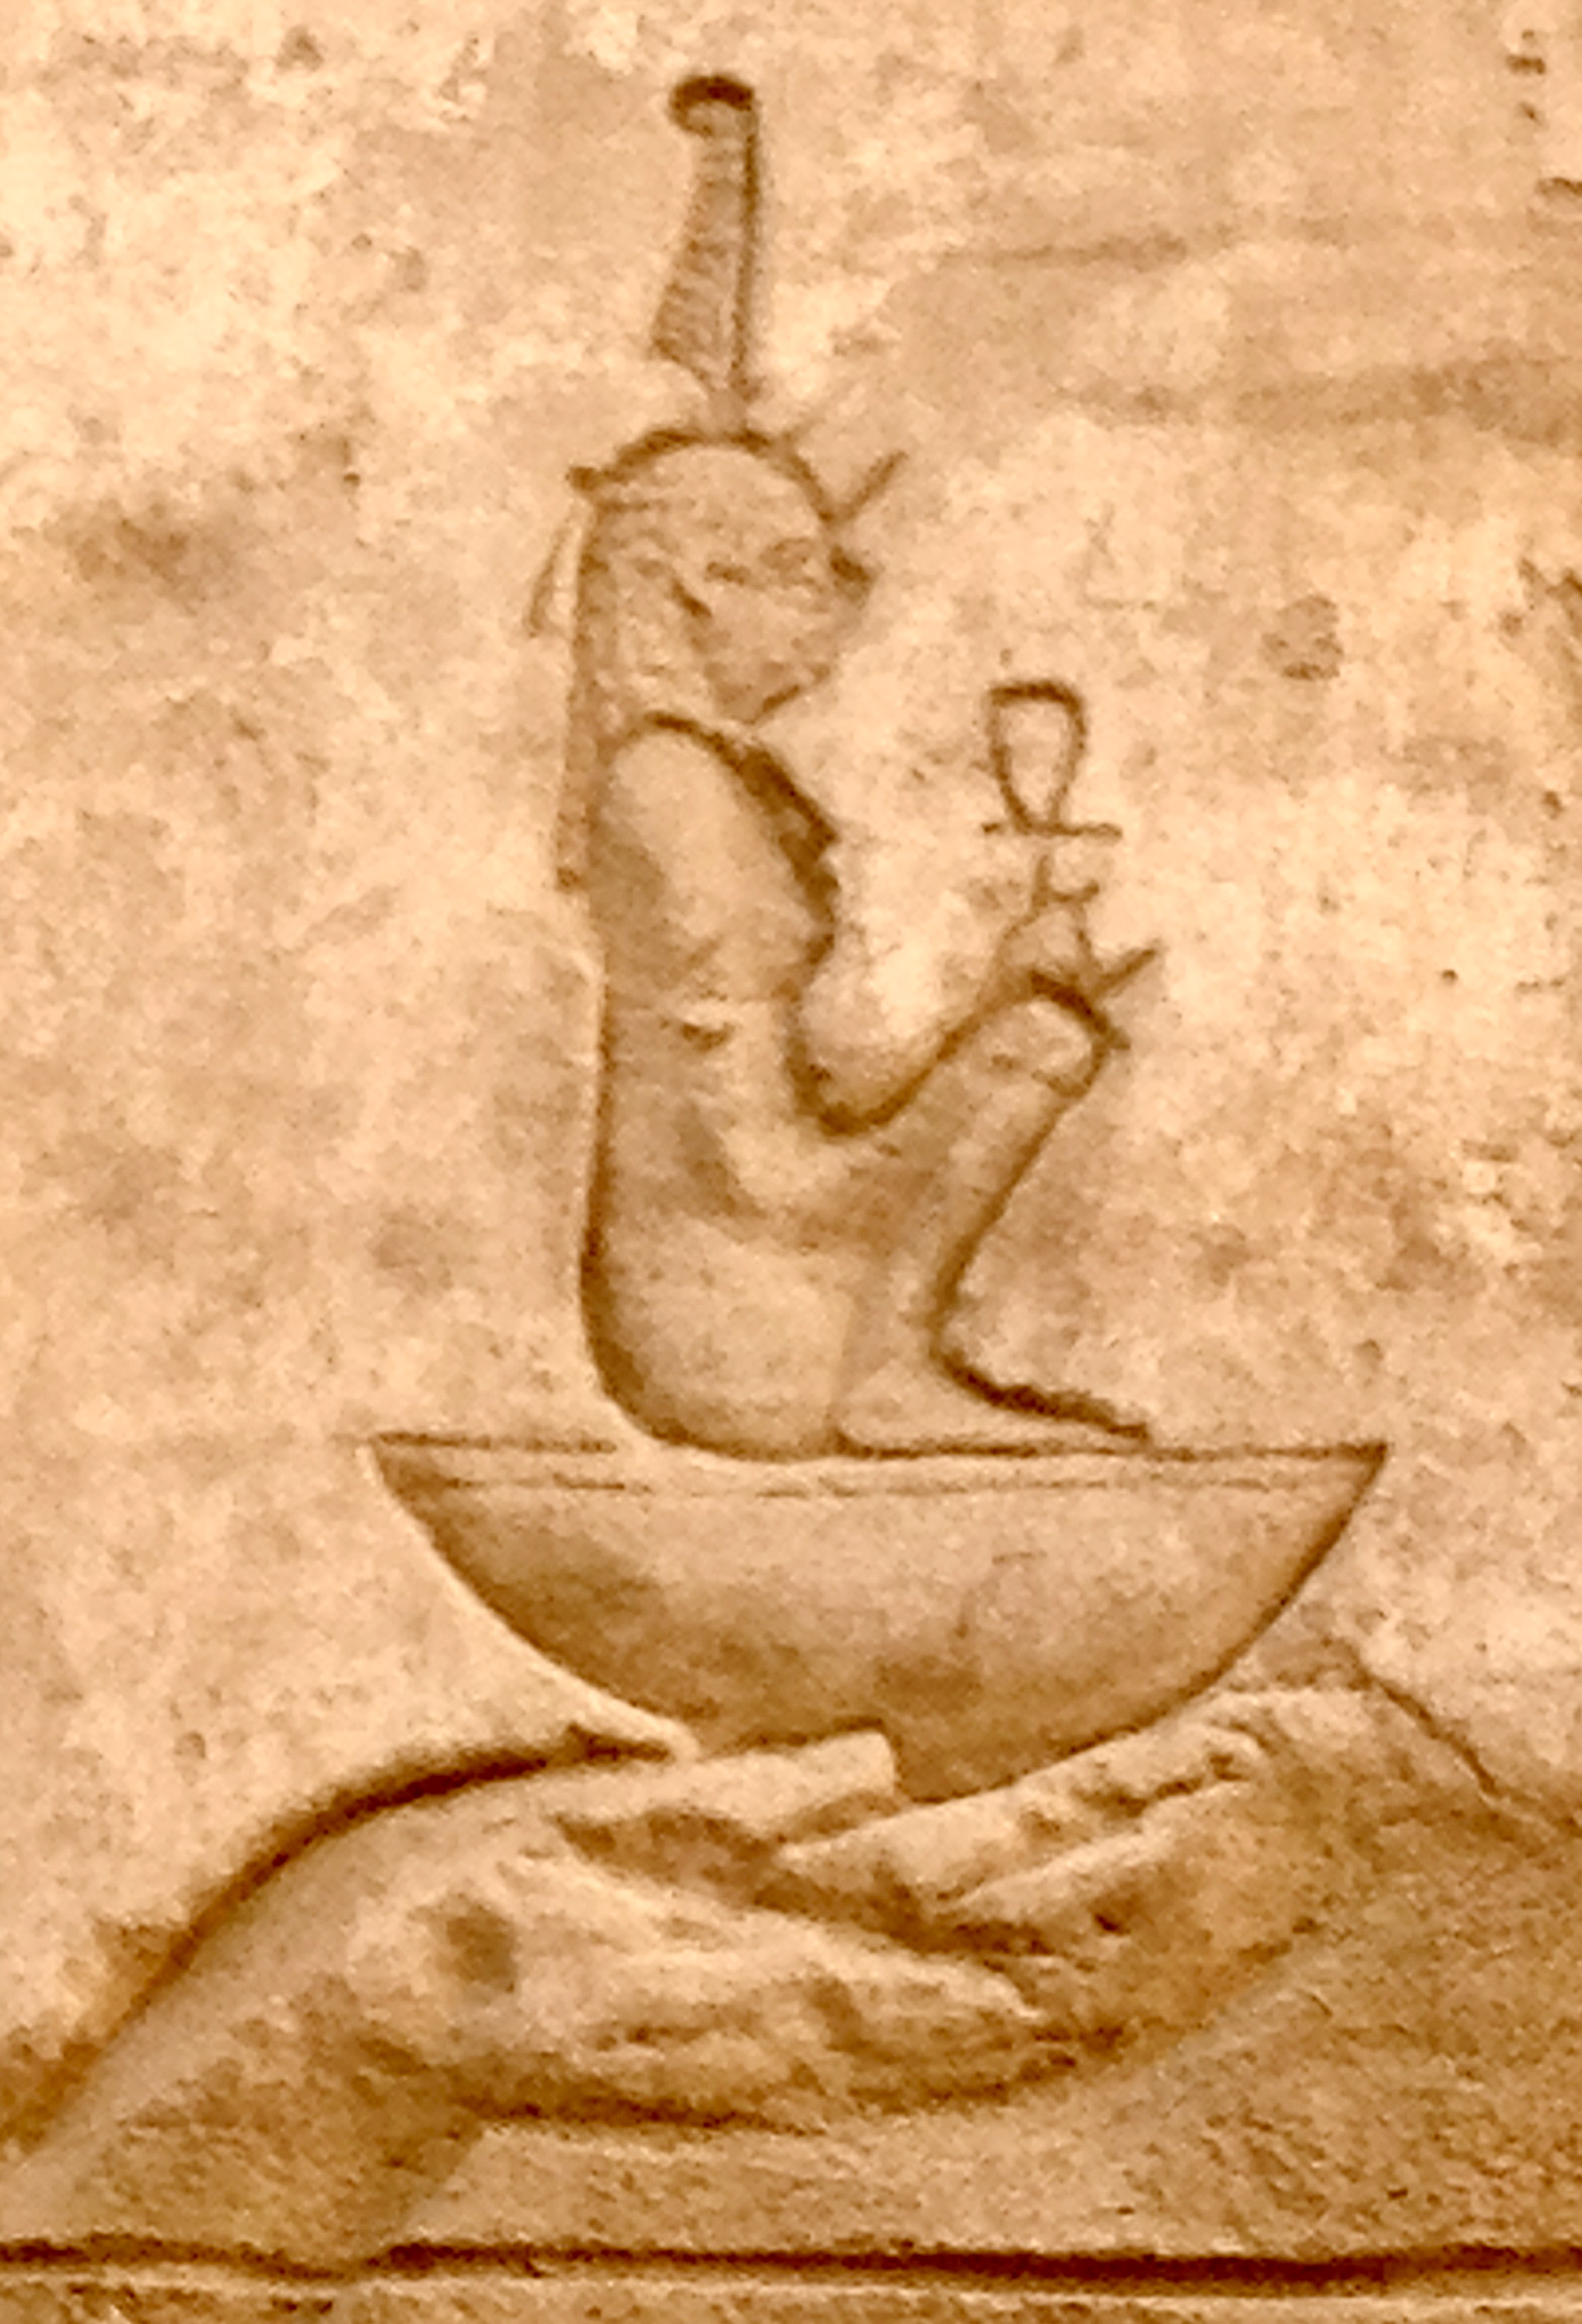
Ma’at with Khepher-Re, the morning sun. Papyrus at the Egyptian Museum, Cairo.
Ma’at with the sun, Re. Papyrus at the Egyptian Museum.
Chapter 10. Symbols of Ma'at
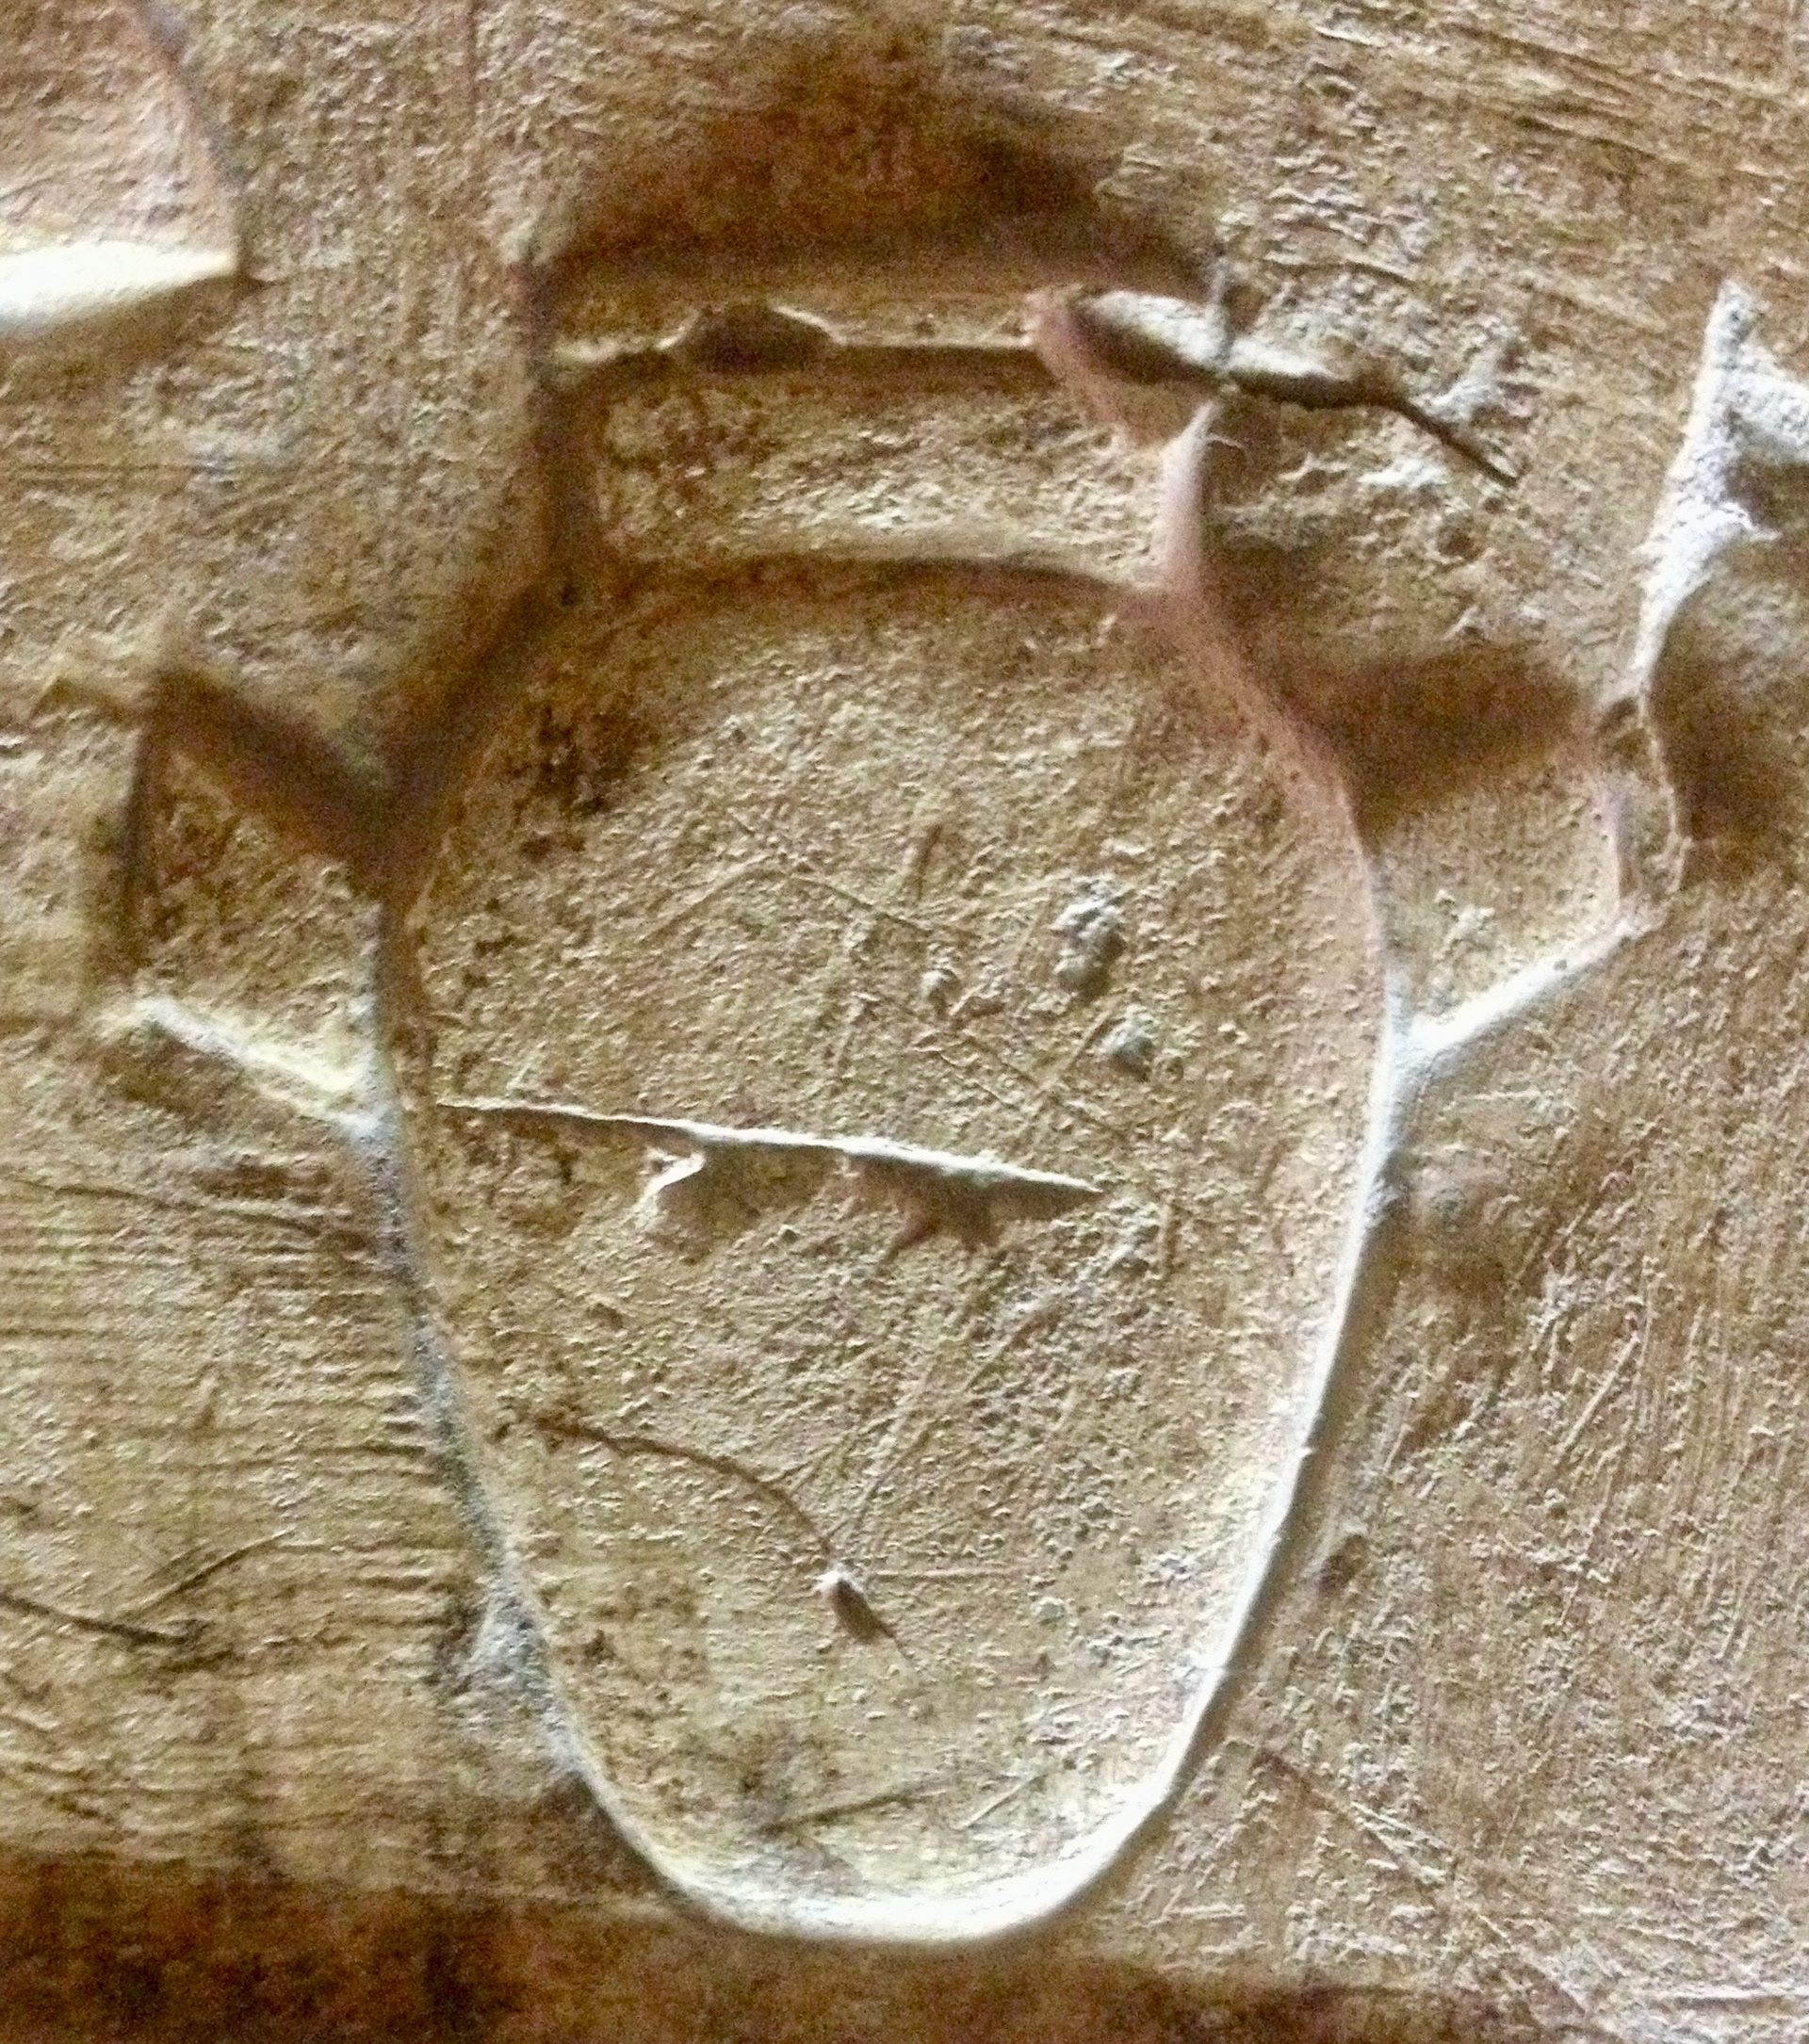
The Feather of Ma’at from Edfu Temple.
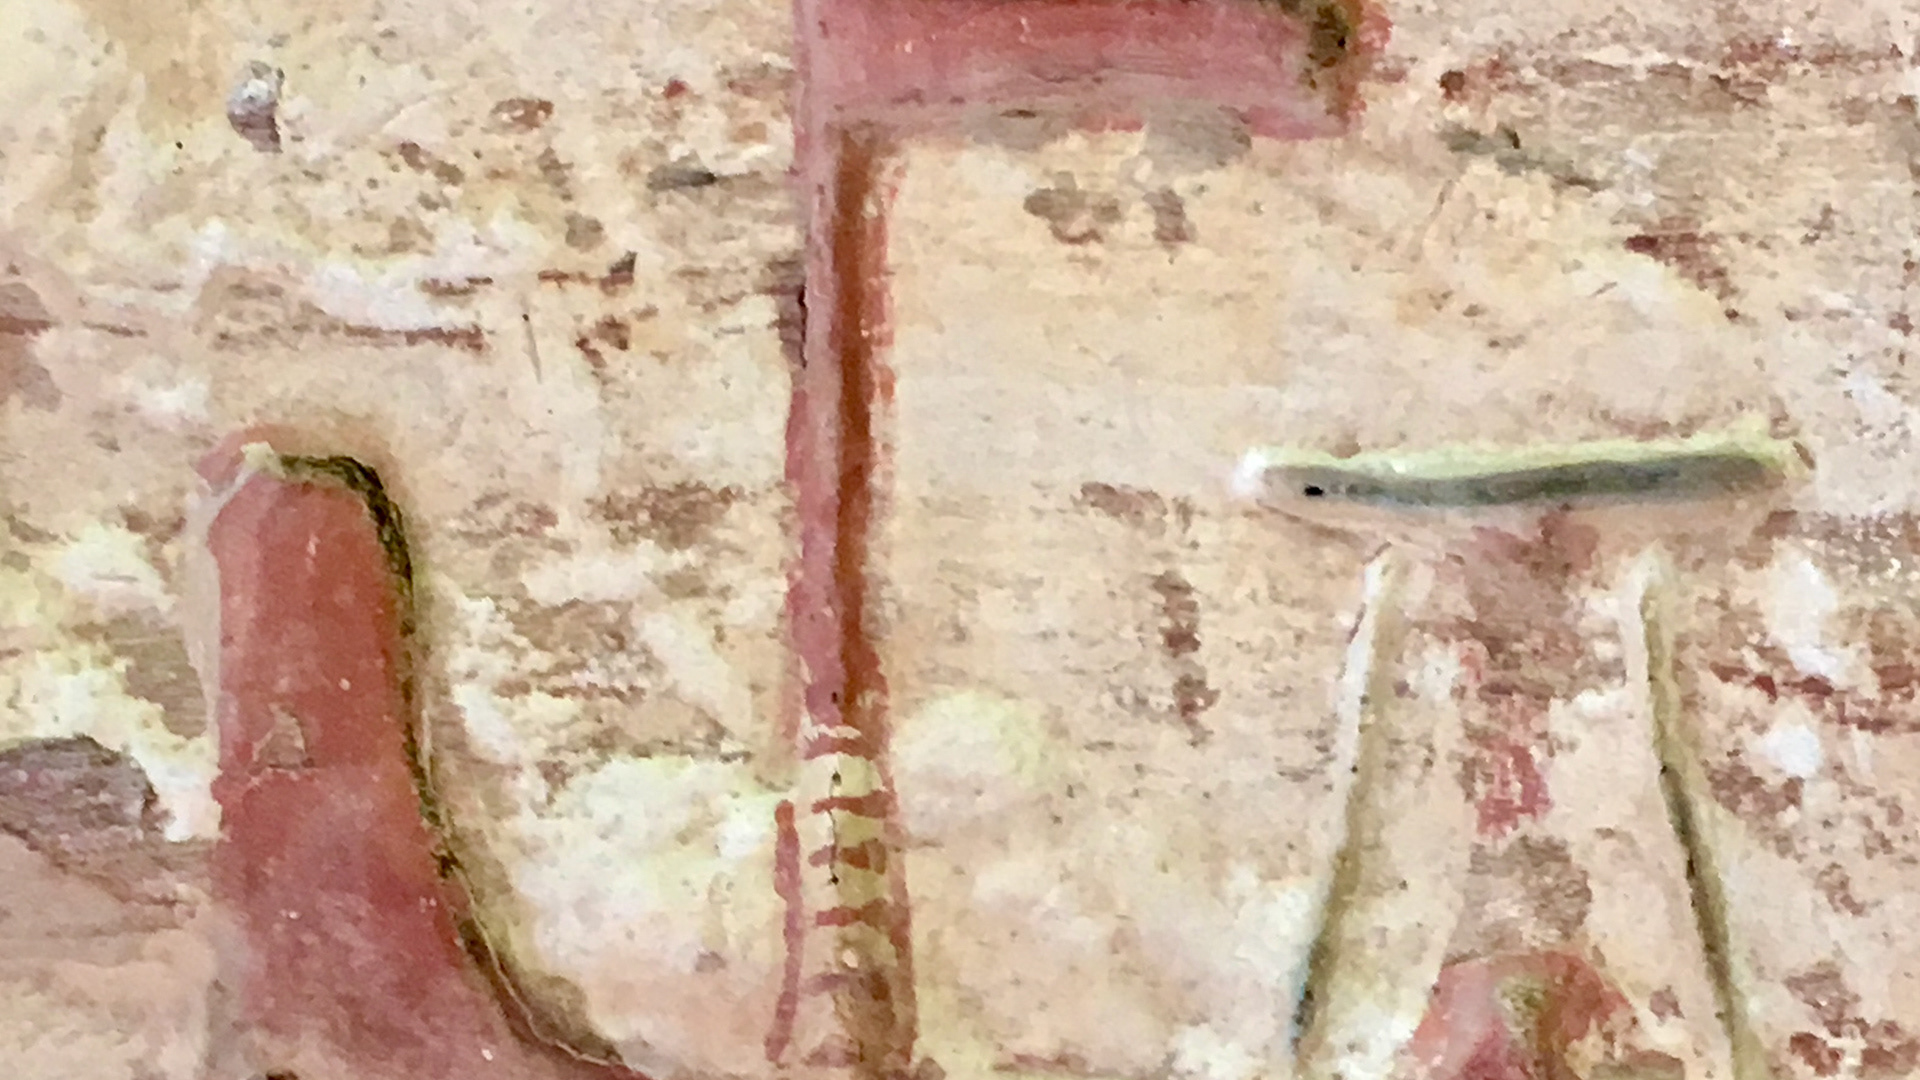
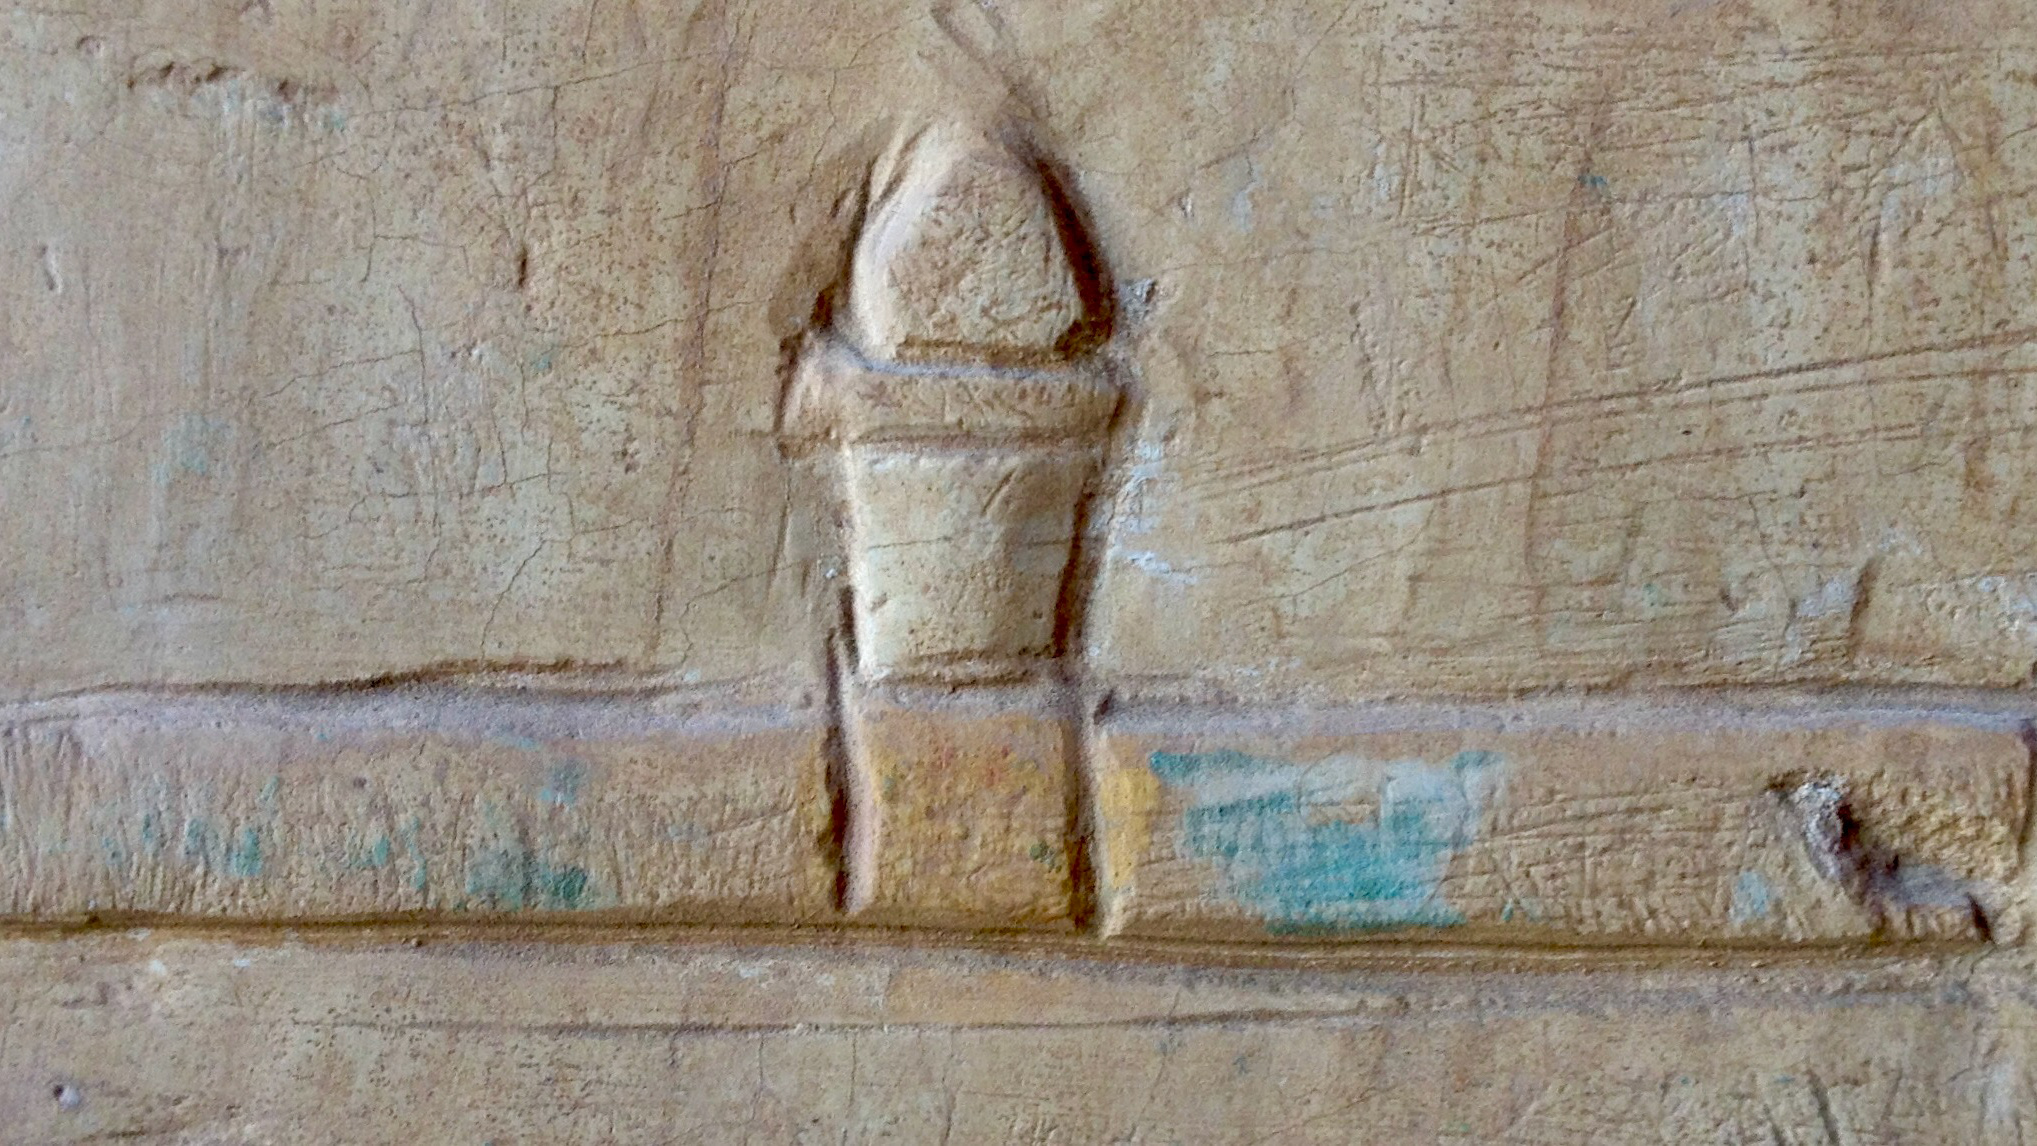
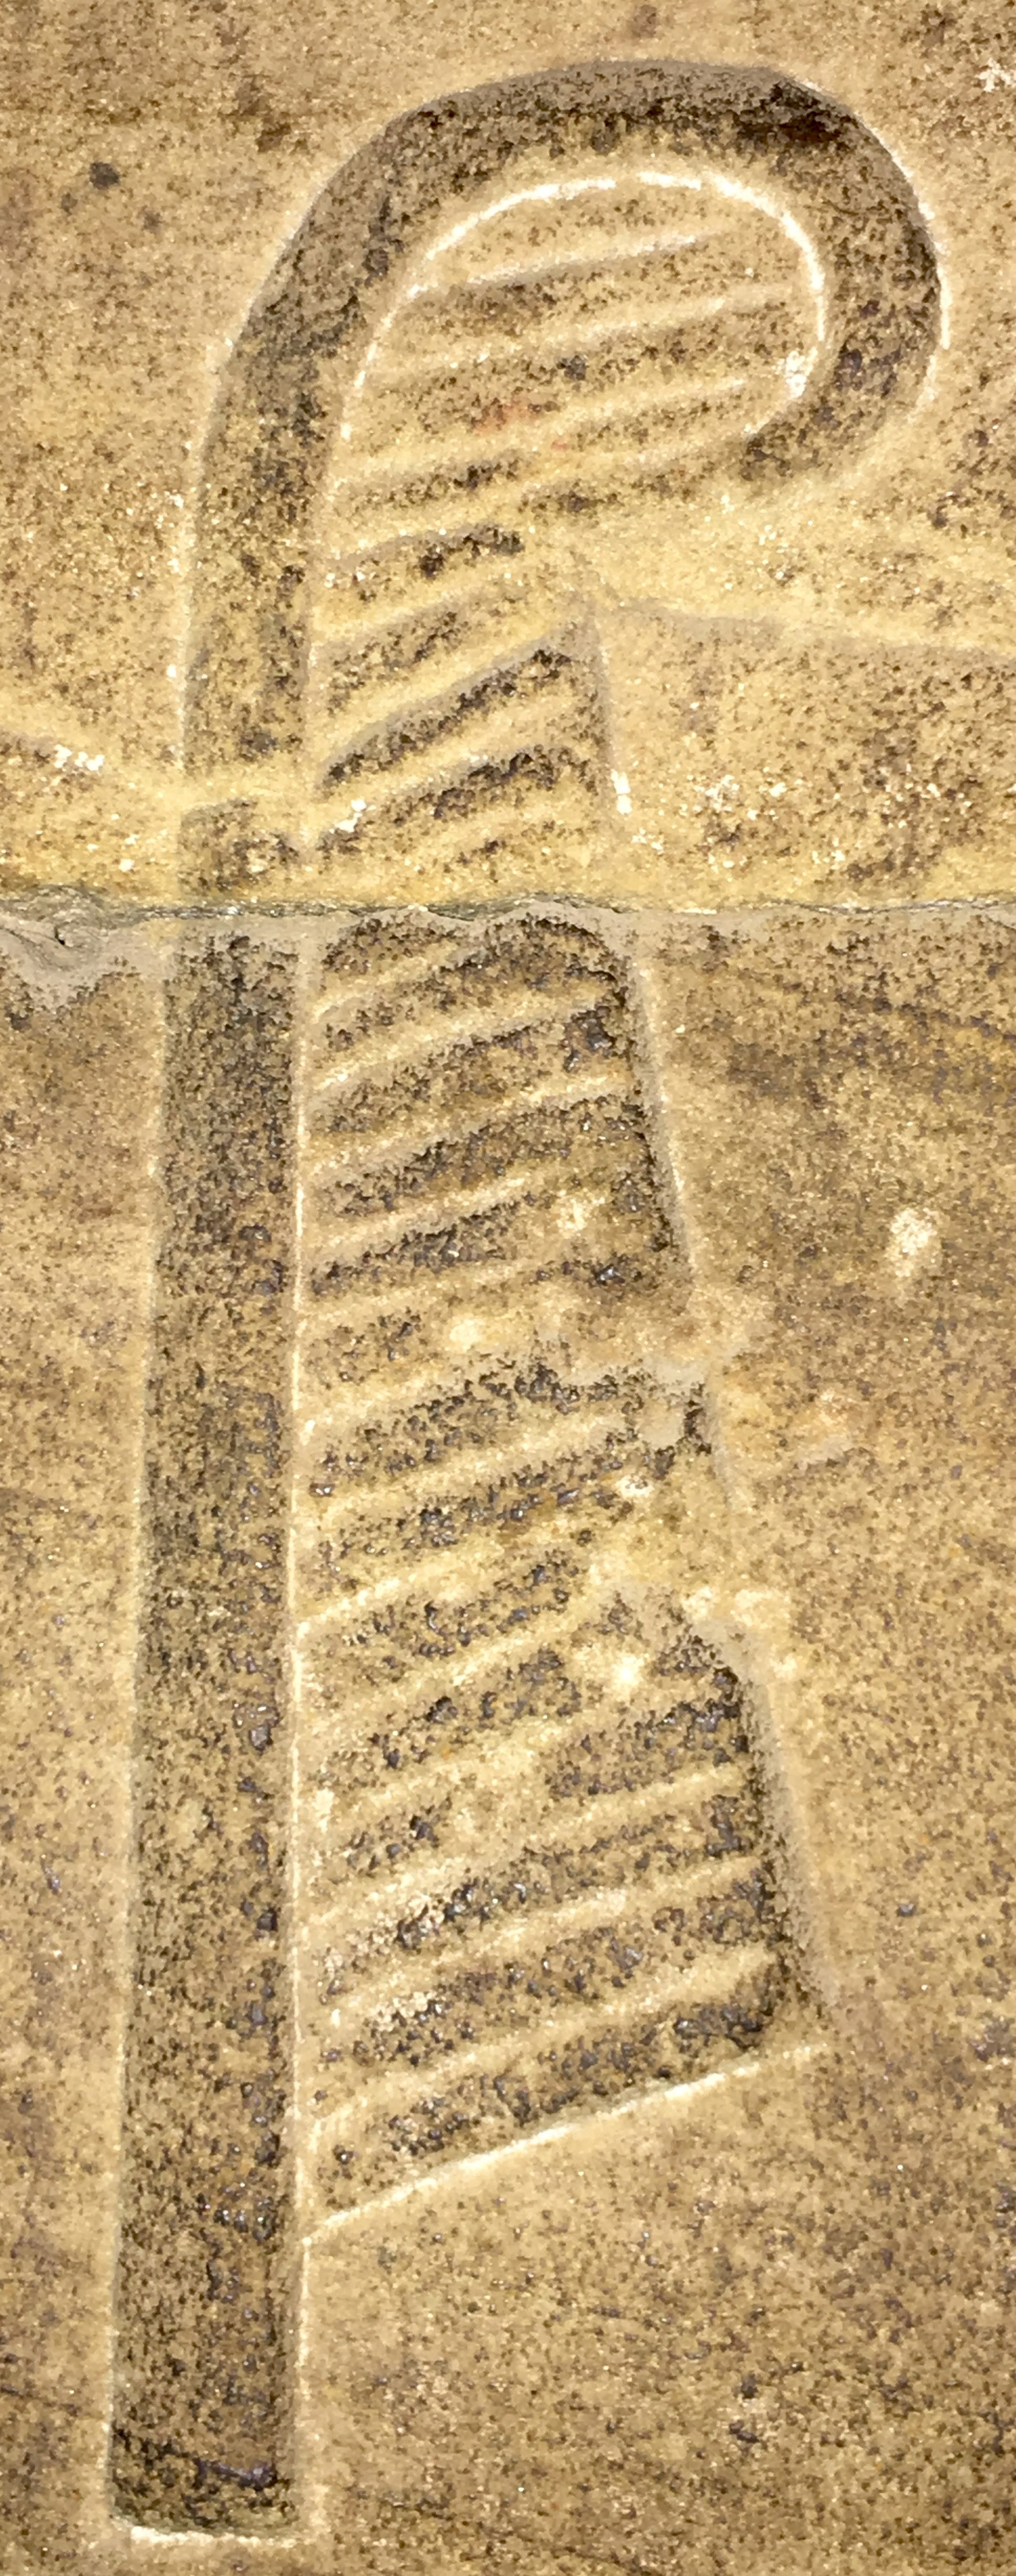
An Ab on the walls at Seti I’s temple at Abydos.
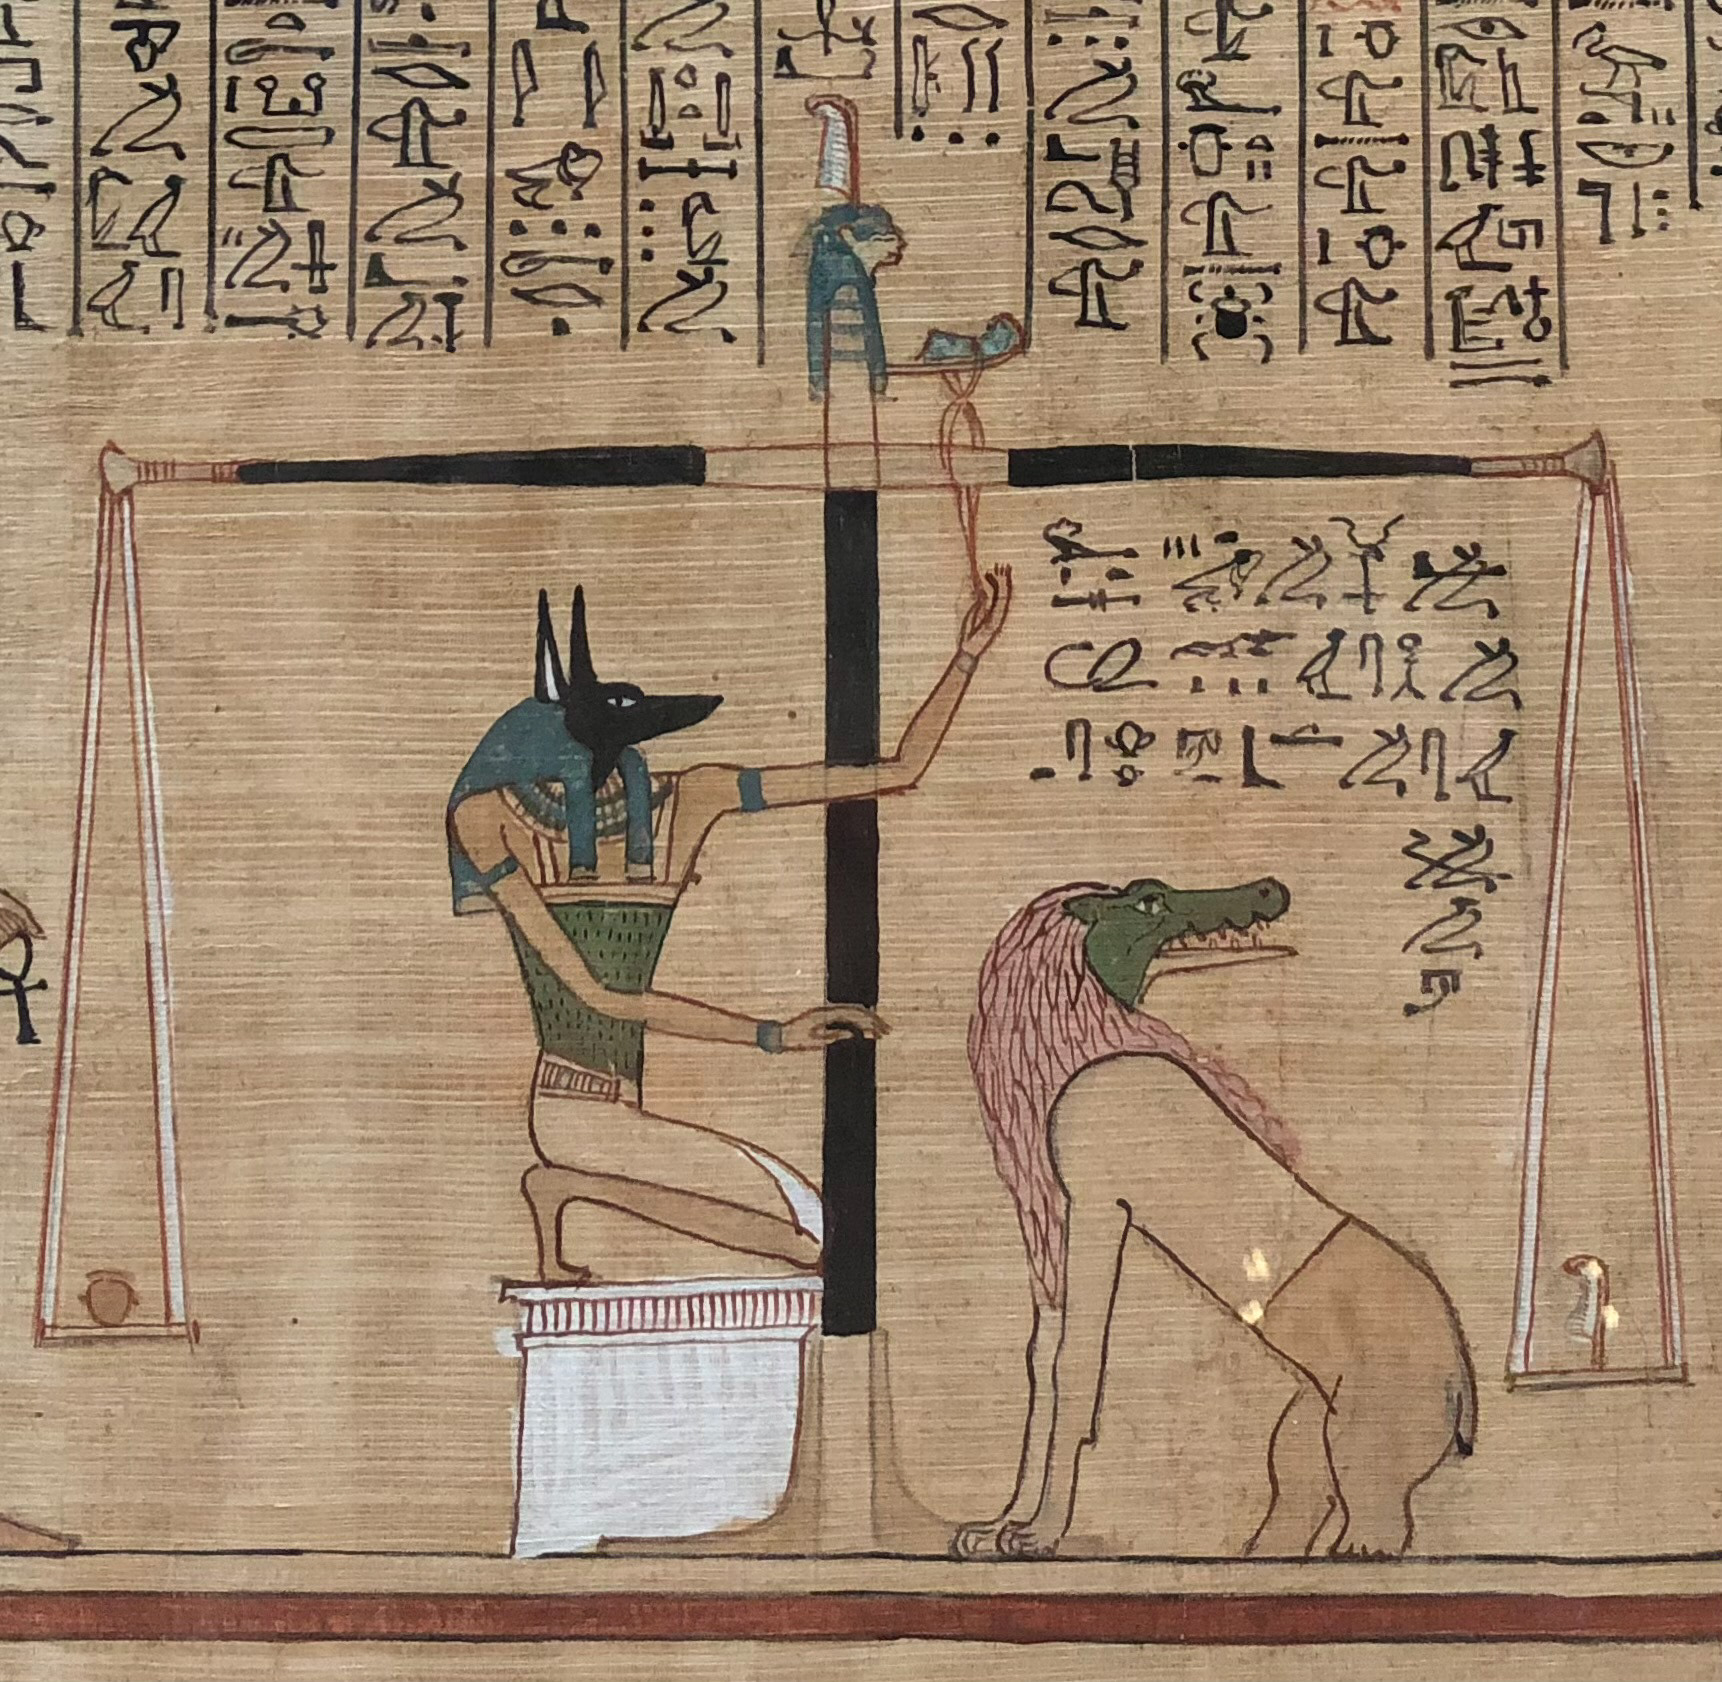
Scales of Ma’at from the Papyrus of Henefer.
Standing on the Foundation of Ma'at. Abydos, Egypt.
Chapter 11. Weighing of the Heart
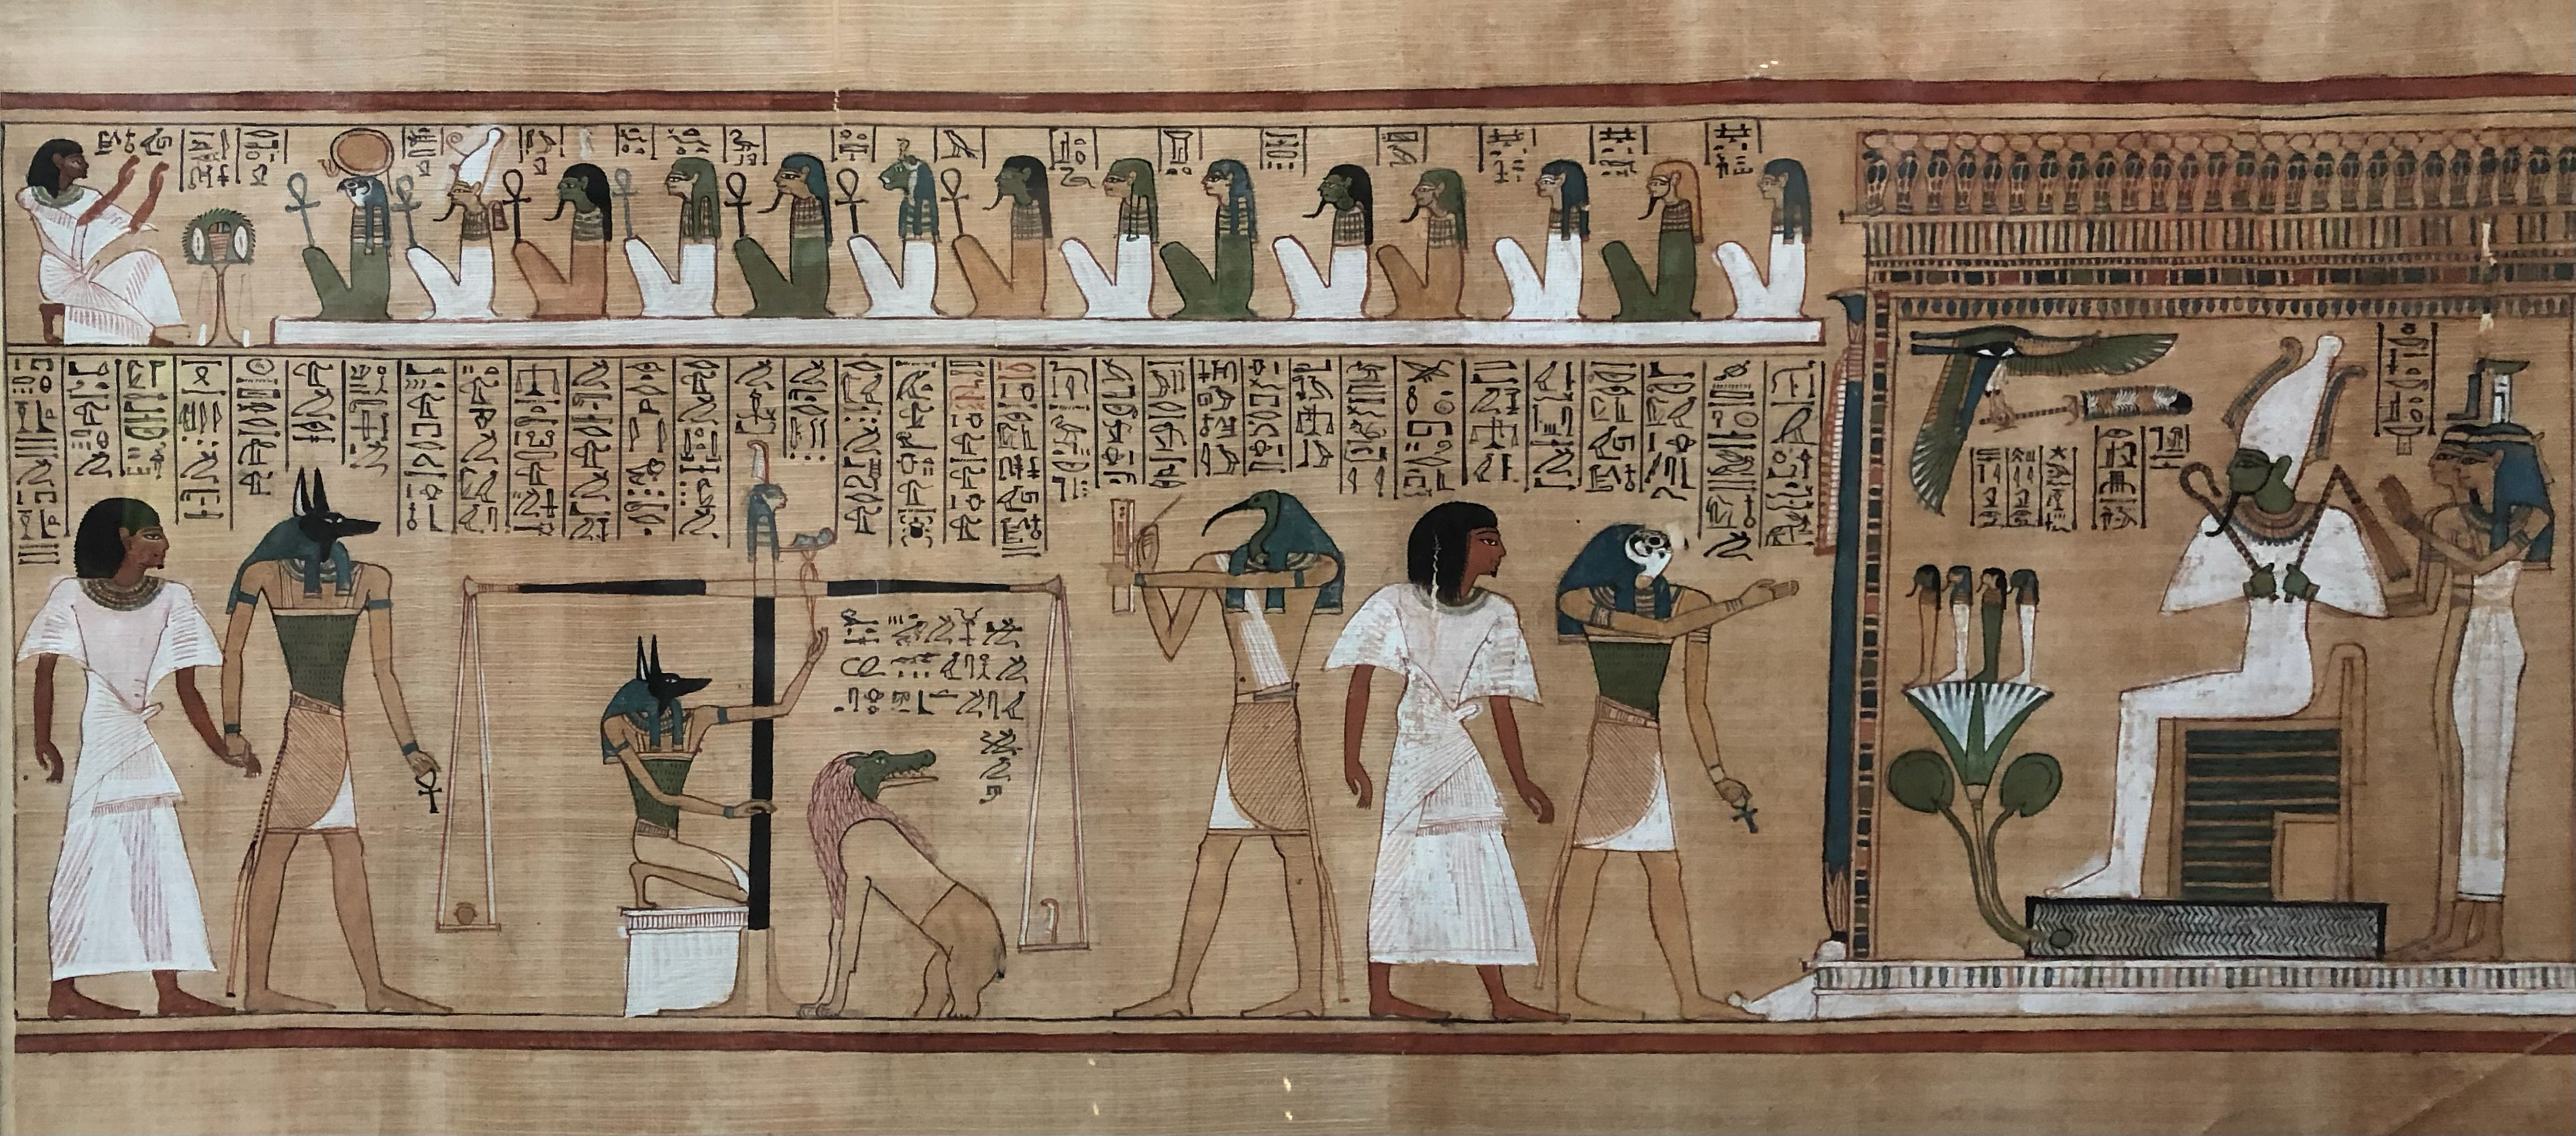
The Papyrus of Hunefer, housed in the British Museum in London
Chapter 12. The 42 Negative Confessions

Chapter 125 of the Papyrus of Ani, housed in the British Museum, London. 22 of Ani’s Negative Confessions. Image by Soutekh67 under Creative Commons ©.
______________________________________
See images from: ______________________________________